Hidden Gems in the Swift Argument Parser - Part II
The first part of this series covered generating completion scripts for Swift binaries built with the argument parser. Moreover, it explored how to improve the completion suggestions with file or directory completion, and also how to install them.
In this second part, we’ll explore other great features the argument parser provides: manual page generation, DocC generation, and the (experimental) JSON dump feature, which can be very powerful when combined with the ArgumentParserInfo library.
Manual Page
Manual pages are a form of documentation for Unix-style commands, which can be read by running the man command. Many system tools already come with manual pages installed, such as ping, mkdir, or ls. They have a very specific format and structure, and are very detailed, documenting available options and flags.
For example, the manual page for the dig command looks like this:
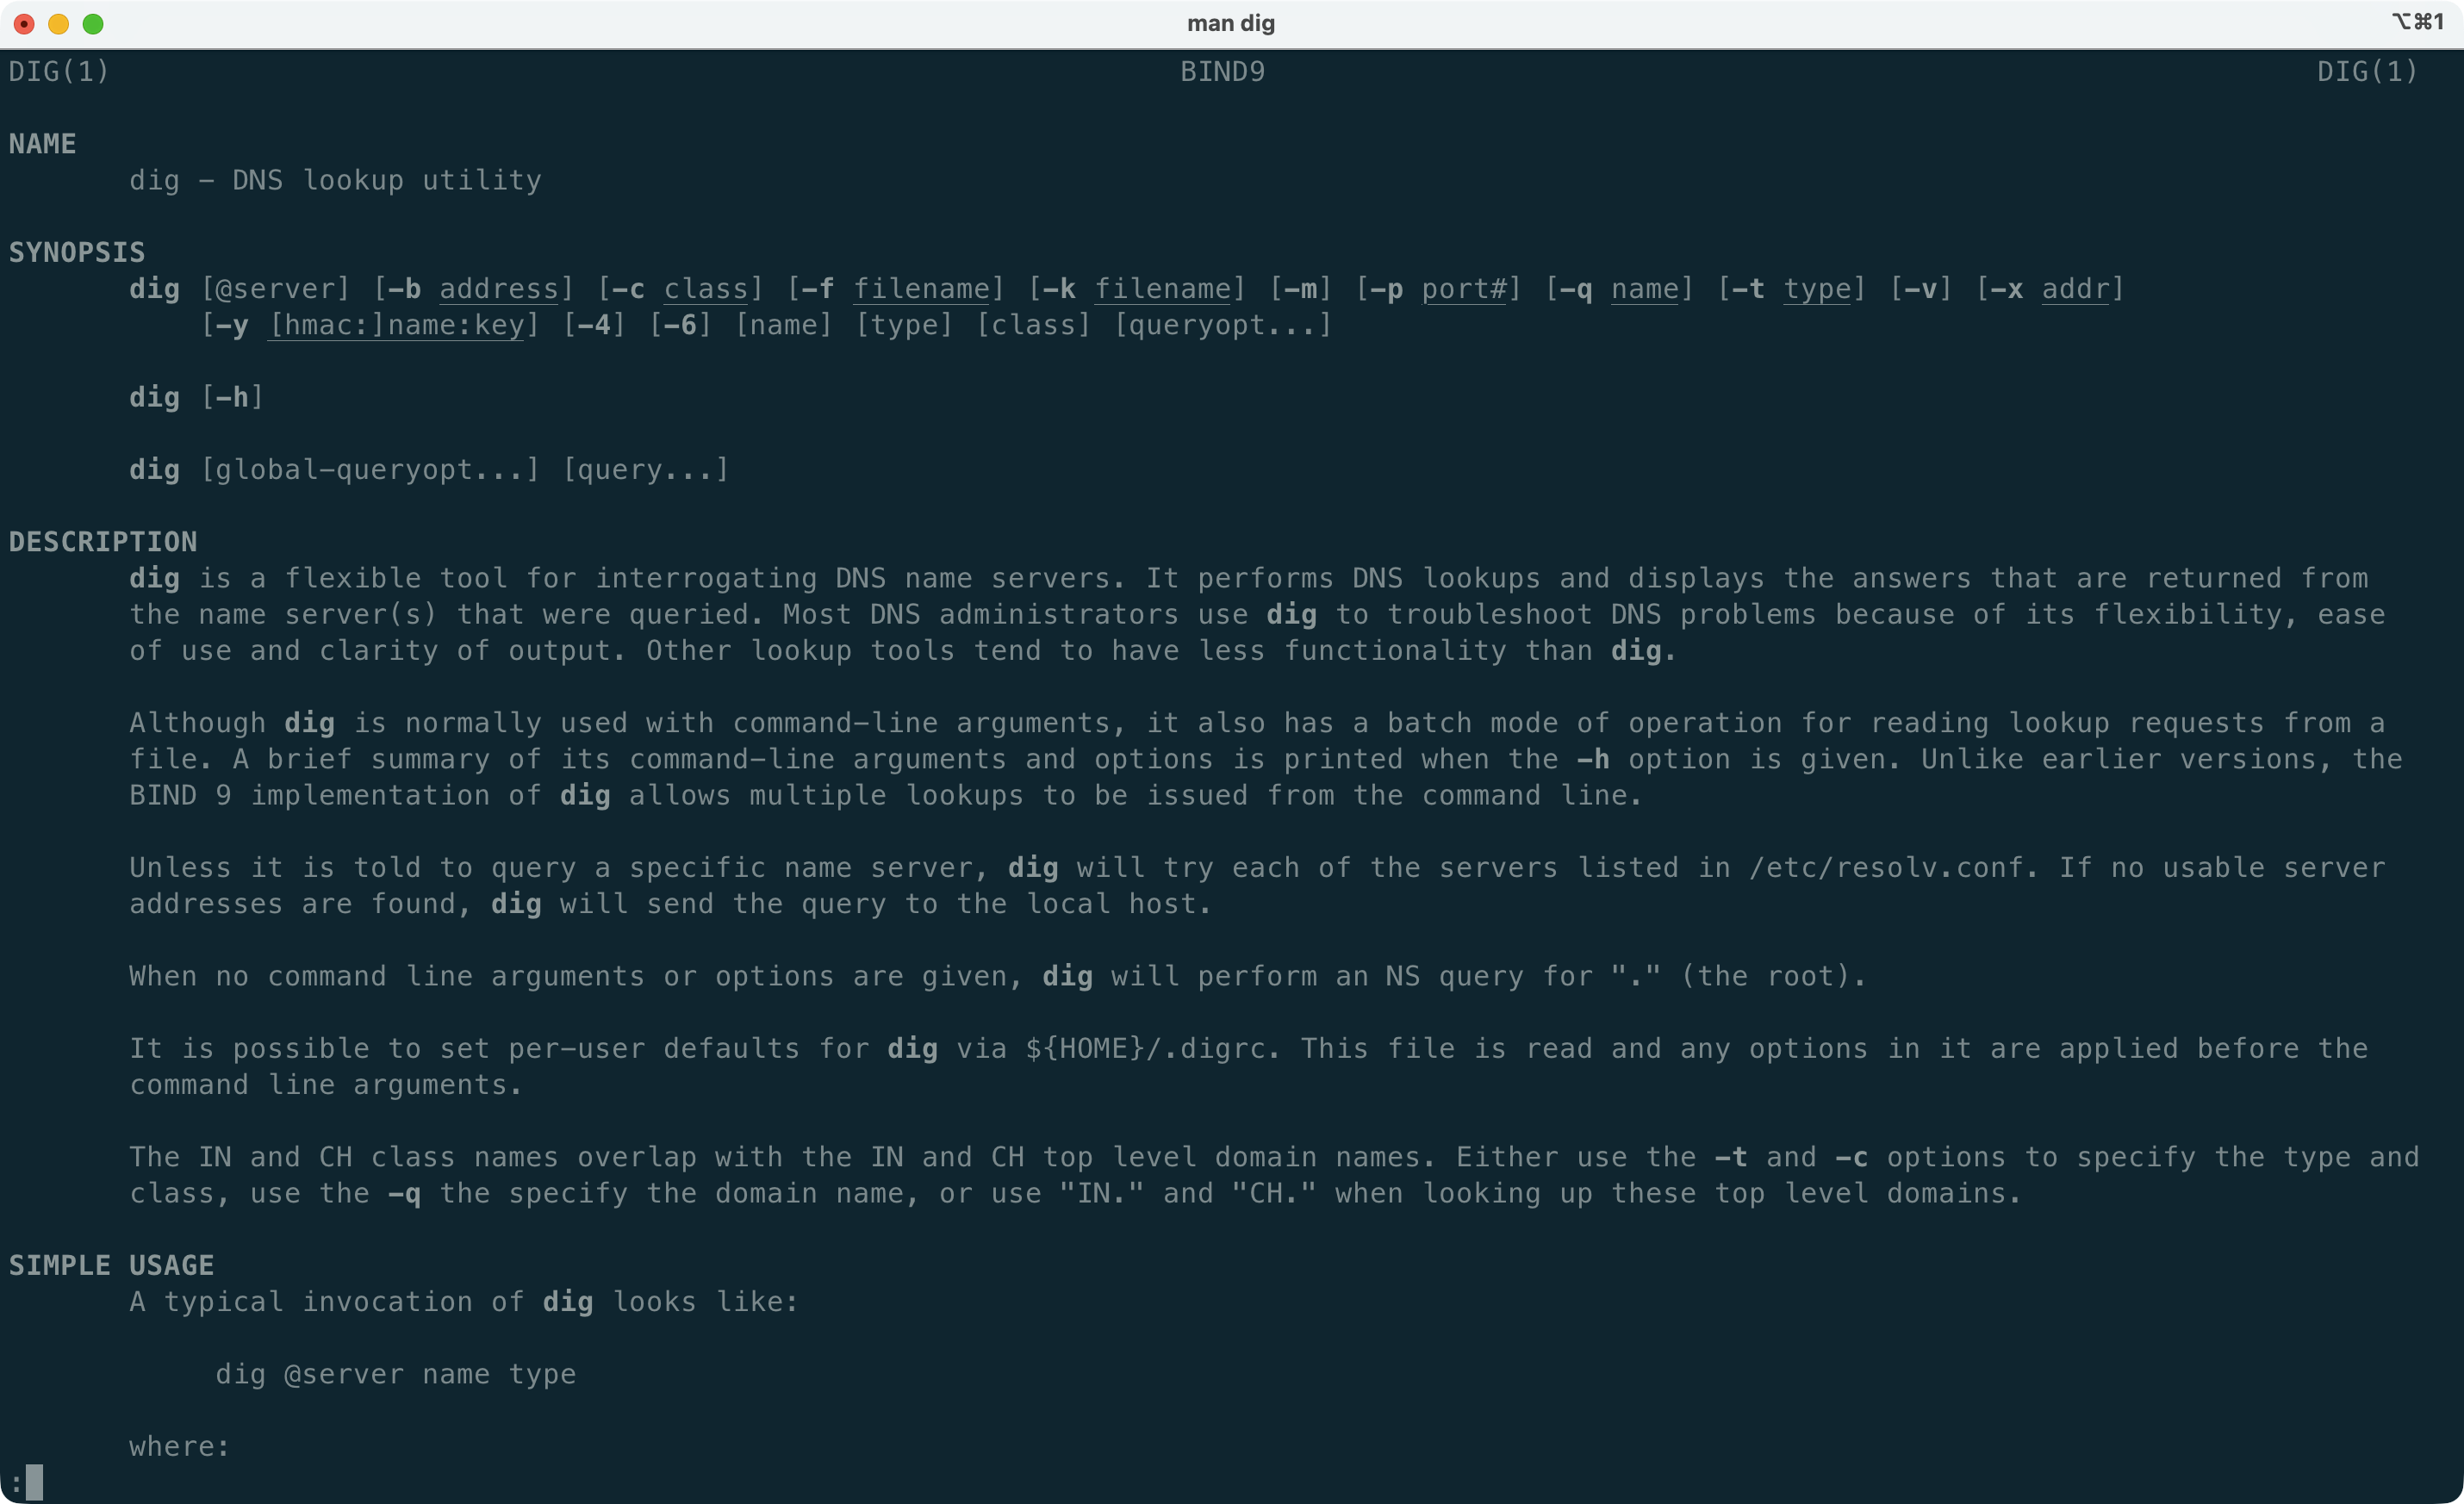
To quit the manual page, you can press q.
Manual Page Generation
The argument parser provides a built-in package plugin that allows generating manual pages for an executable built with it. For an existing executable tool, in the root of the package, you can run the generate-manual plugin to generate the manual page:
swift package generate-manualBy default, the manual page will be saved to the .build/plugins/GenerateManual/outputs/<executable-name> directory, and the manual page will be named <executable-name>.1. You can also specify the output directory with the -o option. To see the generate-manual plugin help, run the same command appending the --help option.
Installing the Manual Page
Manual pages can be installed in different locations, but the convention for tools not part of the system is to put them under the /usr/local/share/man directory, which is already in the default manpath. Therefore, to install the manual page, you can run the following two commands, replacing <executable-name> with the actual name of your executable:
swift package generate-manual
sudo mv .build/plugins/GenerateManual/outputs/<executable-name>/<executable-name>.1 /usr/local/share/man/man1
DocC Generation
Another type of documentation the argument parser provides (since version 1.6.0) is DocC, which you might already be familiar with from the Apple ecosystem.
To generate the DocC documentation for an executable, you also use a package plugin, but this time it’s the generate-docc-reference plugin:
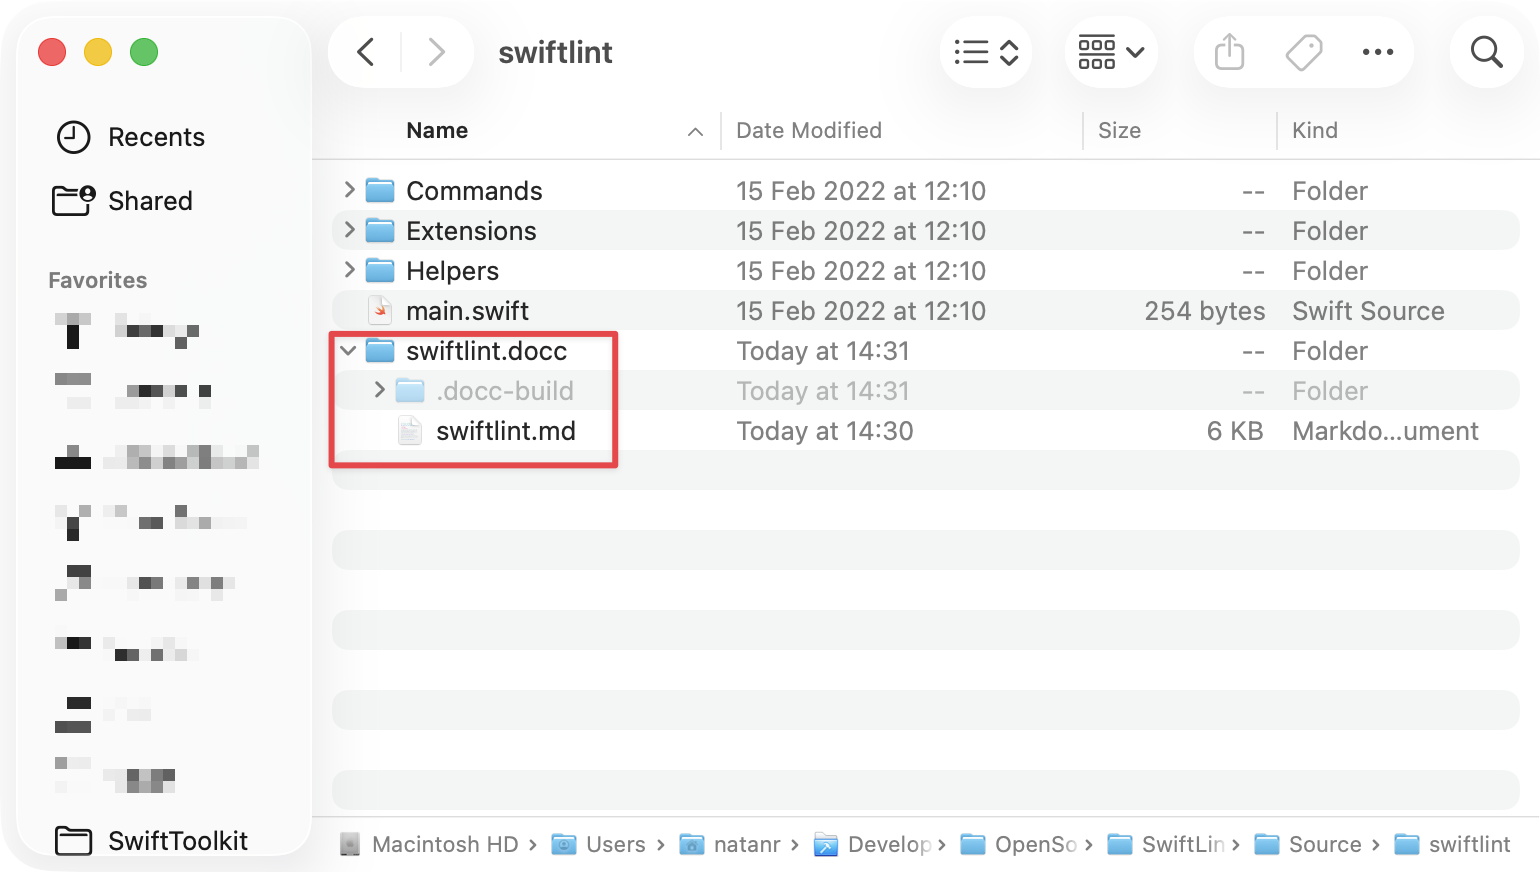
swift package generate-docc-referenceThis plugin will build the executable in release mode, and then generate a .docc directory with the documentation - a Markdown file in it. It will also print the location of the docc directory, next to the sources of the executable. For example, for SwiftLint, you can generate the DocC reference and find it in the following location:

Previewing the DocC Documentation
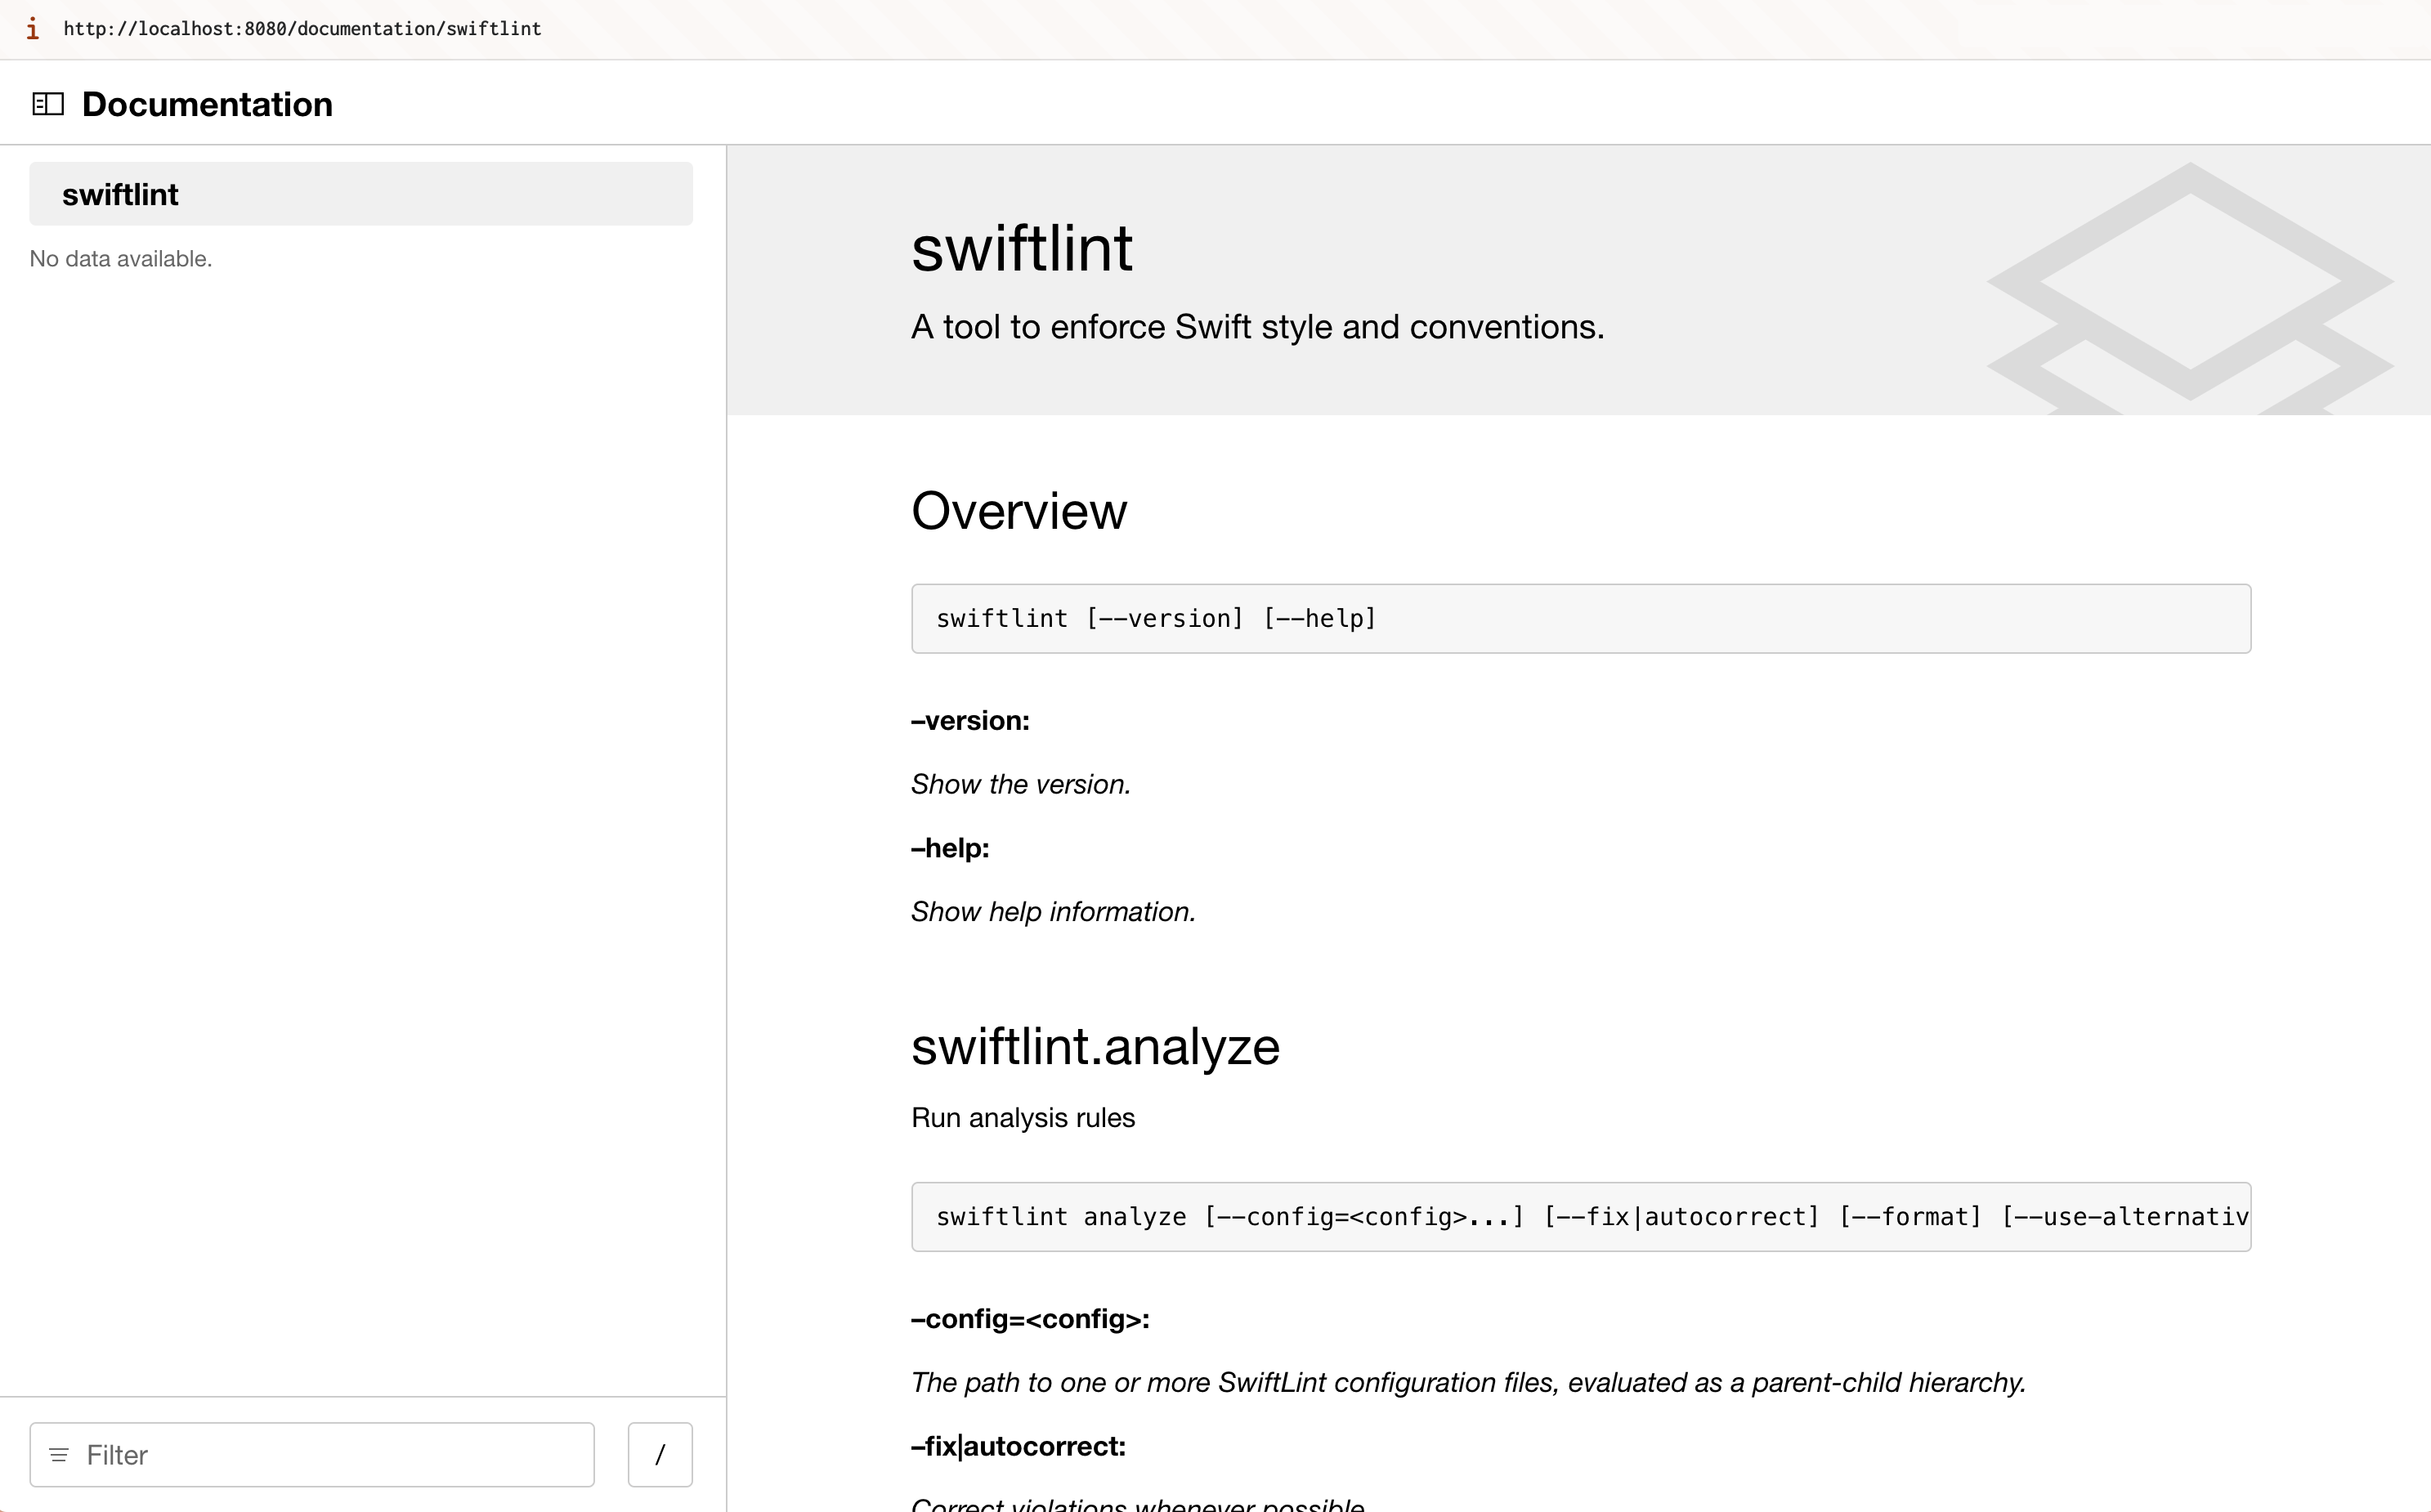
If you have the Xcode command line tools installed, you can preview the documentation in the browser with the following command:
xcrun docc preview <path-to-docc-directory>This will print the URL of the local server, which you can open in the browser to preview the documentation:
Serving the DocC Reference as a Static Website
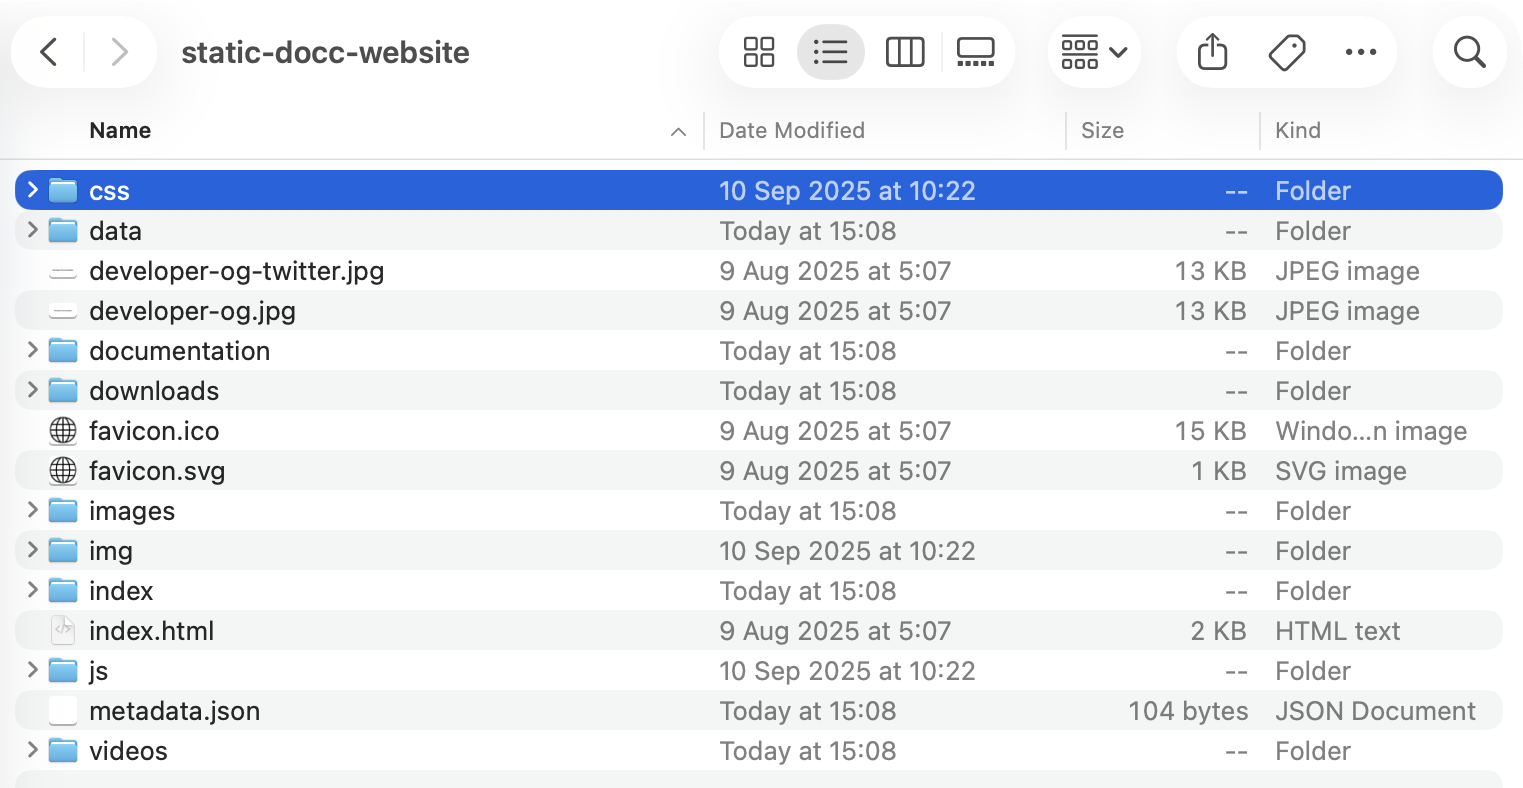
Finally, you can convert the DocC reference into a static website with the following command:
xcrun docc convert <path-to-docc-directory> --output-path ./static-docc-website --transform-for-static-hostingThis will create a directory called static-docc-website with the website contents, which you can serve with any static server:

Important: When deploying a static website, there are two important options you need to take into account:
--hosting-base-path: The base path your documentation website will be hosted at. For example, if you deploy your site toexample.com/my_name/my_project/documentationinstead of example.com/documentation, pass/my_name/my_projectas the base path.- When serving the website from GitHub Pages, make sure to pass the
--source-serviceand--source-service-base-urloptions. To read more about these options, runxcrun docc convert --help.
The ArgumentParserInfo Library
If you want even more control over the information about your tool, such as commands, subcommands, and arguments, you can make use of the ArgumentParserInfo library.
JSON Dump
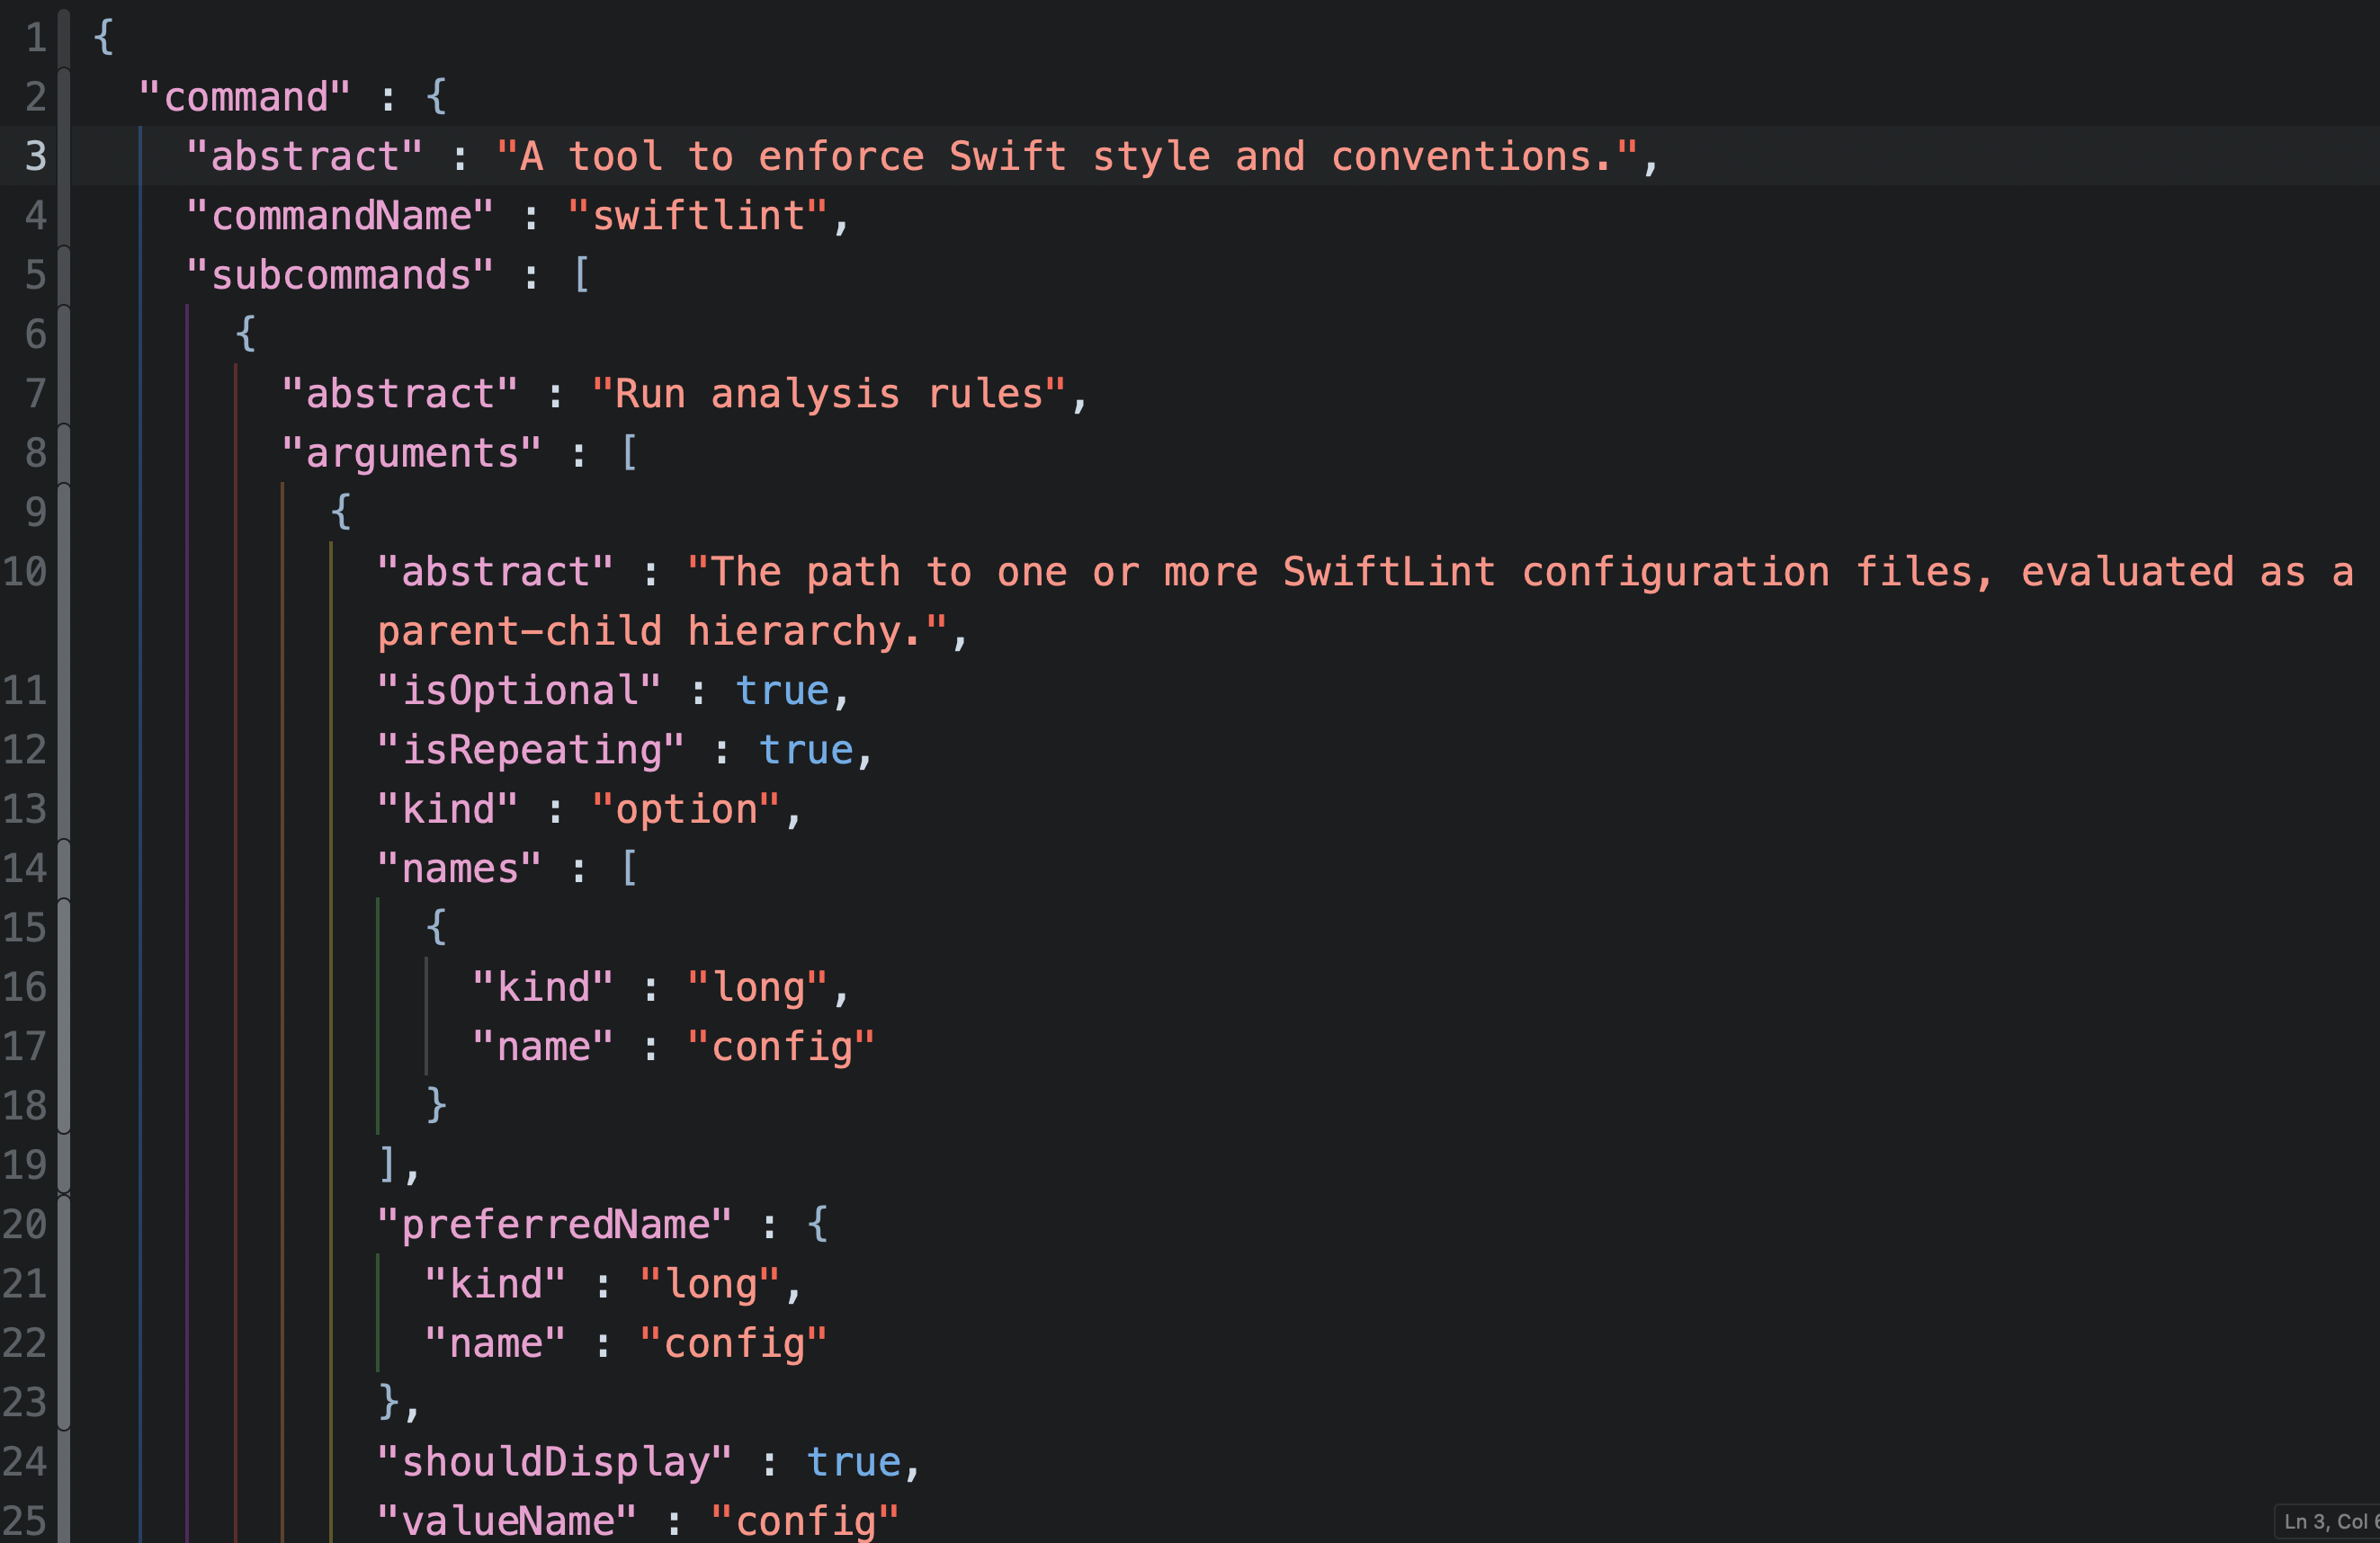
Every tool built with the argument parser has a command to generate a JSON file with all the tool information: --experimental-dump-help. The best part is that the same Codable models used to generate the JSON are available in the ArgumentParserInfo library, so you can use them to parse the JSON and get the information you need.
For example, if we run swiftlint --experimental-dump-help, we get the following JSON:
Parsing the JSON
With the JSON dump you can read all the information about a specific tool and, for example, generate a Markdown file with the information about any argument-parser-based Swift tool you have in your system.
For example, using the Command package to spin up other tools, you can do something along the lines below.
Start by declaring an AsyncParsableCommand that will be used to dump the other tools’ JSON information:
import ArgumentParser
import ArgumentParserToolInfo
import Command
import Foundation

@main
struct DocTool: AsyncParsableCommand {}
Then, add to it an argument to specify the tool name:
@Argument(help: "The name of the tool to generate documentation for")
var toolName: String
Then, implement the run method:
func run() async throws {
    // 1
    let commandRun = Command.run(arguments: [toolName, "--experimental-dump-help"])
    let result = try await commandRun.concatenatedString(including: [.standardOutput])

    guard let resultData = result.data(using: .utf8) else {
        return
    }

    // 2
    let decoder = JSONDecoder()
    let version = try decoder.decode(ToolInfoHeader.self, from: resultData).serializationVersion

    guard version == 0 else {
        // Unsupported version
        return
    }

    // 3
    let rootCommand = try decoder.decode(ToolInfoV0.self, from: resultData)

    // 4
    let outputString = rootCommand.command.generateMarkdown()
    print(outputString)
}
Although this code is a bit long, you can understand it by breaking it down into the following steps:
- Spin up a new process using the
Commandpackage, by calling the tool and passing the--experimental-dump-helpargument. The tool must be installed in the system. - Decode the result into a
ToolInfoHeadermodel, and verify that the version of the JSON matches the version you support. - Decode the result into a
ToolInfoV0model, which contains the root command information, and all children data. - Generate, in another function, a Markdown string with the information about the root command, by iterating over the children. Then, print it to the standard output.
Instead of printing the Markdown string, you can allow the user to save it to a file, or use it to generate an HTML file, or any other format you want! Also, this sample code doesn’t handle errors, so take into account that you would need to think of better error messages.
Explore Further
With that, another series comes to an end!
If you want to understand the basics of the Swift Argument Parser, don’t miss our Interactive Swift Argument Parser Guide series, and our other posts about it!
See you at the next post. Have a good one!

 Check the full DocTool sample project on GitHub