Deploying a Swift Server App to Fly.io and Railway
For developers who are used to iOS development, the process of deploying a Server Side Swift app can be a bit intimidating, as Xcode brings everything you need: the compiler, the SDK, the debugger, and the simulator.
Nowadays, however, most platform-as-a-service providers work with containers, using Docker to build images and deploy them to their cloud infrastructure. This makes the process of deploying server apps much easier not only to deploy, but also to scale.
In this post, you’ll learn how to deploy a Vapor app to two platforms, even if you’re not familiar with Docker, and also do not require having Docker installed on your machine: Fly.io and Railway. They both allow you to get started in a smooth way and offer a free trial to get started.
While this post focuses on Vapor, you can apply the same process to other frameworks, such as Hummingbird.
Initializing a Vapor App
Vapor, the most popular server-side Swift framework, provides a CLI tool to create new projects, based on a template repository. If you don’t have it installed yet, you can install it with Homebrew:
brew install vaporIt’s important to emphasize that this step only installs the CLI tool, and not the framework itself. Once you create a new project with it, and open it either in Xcode or VS Code, they’ll use the Swift Package Manager (SPM) to resolve the dependencies, and download the source code of Vapor itself.
To create a new project, you can run the new command followed by the name of the project. For this example, there’s no need to choose Fluent as a database ORM, and also Leaf is not needed, as we’ll not render any HTML, so pass the --no-fluent and --no-leaf flags:
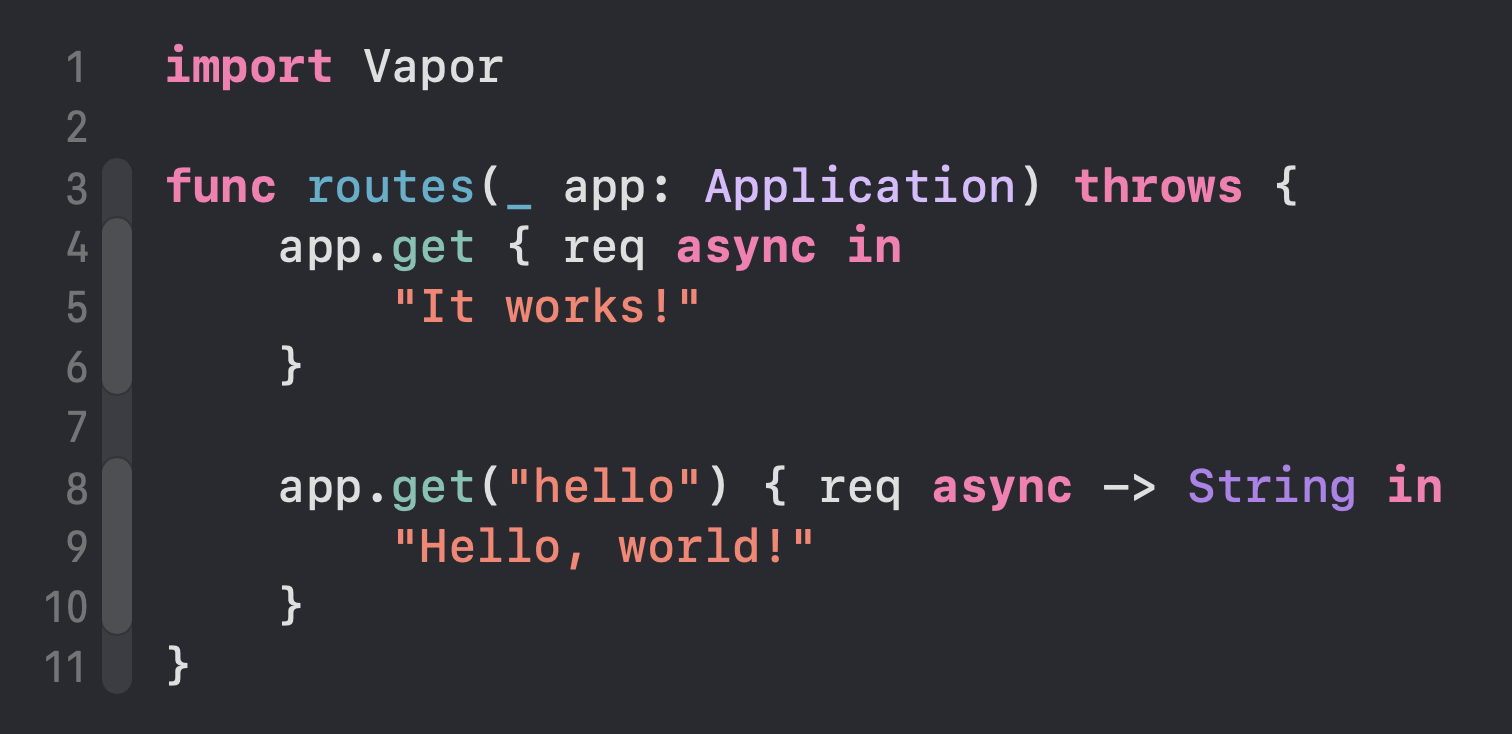
vapor new my-app --no-fluent --no-leafThis command will create a new directory called my-app, with the sample Todo application, containing the basic configuration of a Vapor project. You can open the project in your text editor of choice. There are currently two routes the Sources/App/routes.swift file declares: one at the root path, and another one at /hello:
The Dockerfile
The starter project already comes with a Dockerfile: it is a “recipe” that Docker uses to build an image, containing the instructions install all the dependencies, the compiler, and then build the app and package it in a container. No matter where you choose to run it, your app will contain all it needs to run, and will behave in the same manner, no matter where it runs. No more “it works on my machine” excuses!
If you choose to use Hummingbird instead of Vapor, you can copy the Dockerfile from the Vapor template repository to your app’s root directory, and it should work as well.
Although you don’t have to be a Docker expert, it’s important to understand what this file contains. Simplifying its contents, here are the instructions it contains:
- It defines the base image to use, at the time of writing this article,
swift:6.0-noble - It first copies the Package.swift file (and the Package.resolved file) to the
/builddirectory in the image, so it can resolve packages and install dependencies - After copying the whole repository to the same
/builddirectory, it builds the app, statically linking the Swift runtime with theswift buildcommand - Using what is called as multi-stage builds, it creates another image, this time lighter, and copies only the built executable (and any resources) to it
- Finally, it sets the entrypoint of the container to the built executable: the App binary and the
servecommand, which runs the server
The initial Dockerfile is enough for most cases, unless you need special Linux libraries (which can happen if you rely on FoundationNetworking and URLSession APIs or FoundationXML). Notice the two following lines in the Dockerfile. If you need any of these Swift modules, uncomment them by removing the # character:
Deployment
Both platforms detect the Dockerfile in the root directory, and use it to build the image. They also offer a GitHub integration, and this is what this tutorial will use.
Making sure that the Dockerfile is present in the root directory of the project, create a new repository on GitHub and push the sample code to it.
Deploying to Fly.io
There are two options for deploying to Fly.io:
- using the CLI
- using the web interface, by choosing a GitHub repository
For this tutorial, we’ll go with the web interface. Besides not requiring any installation, it will enable continuous deployment: any time a new commit is pushed, Fly.io will automatically deploy the new version of the app.
Start by creating an account on Fly.io. After that, look for the Launch an App button, and click on it. You’ll be take to the following page:
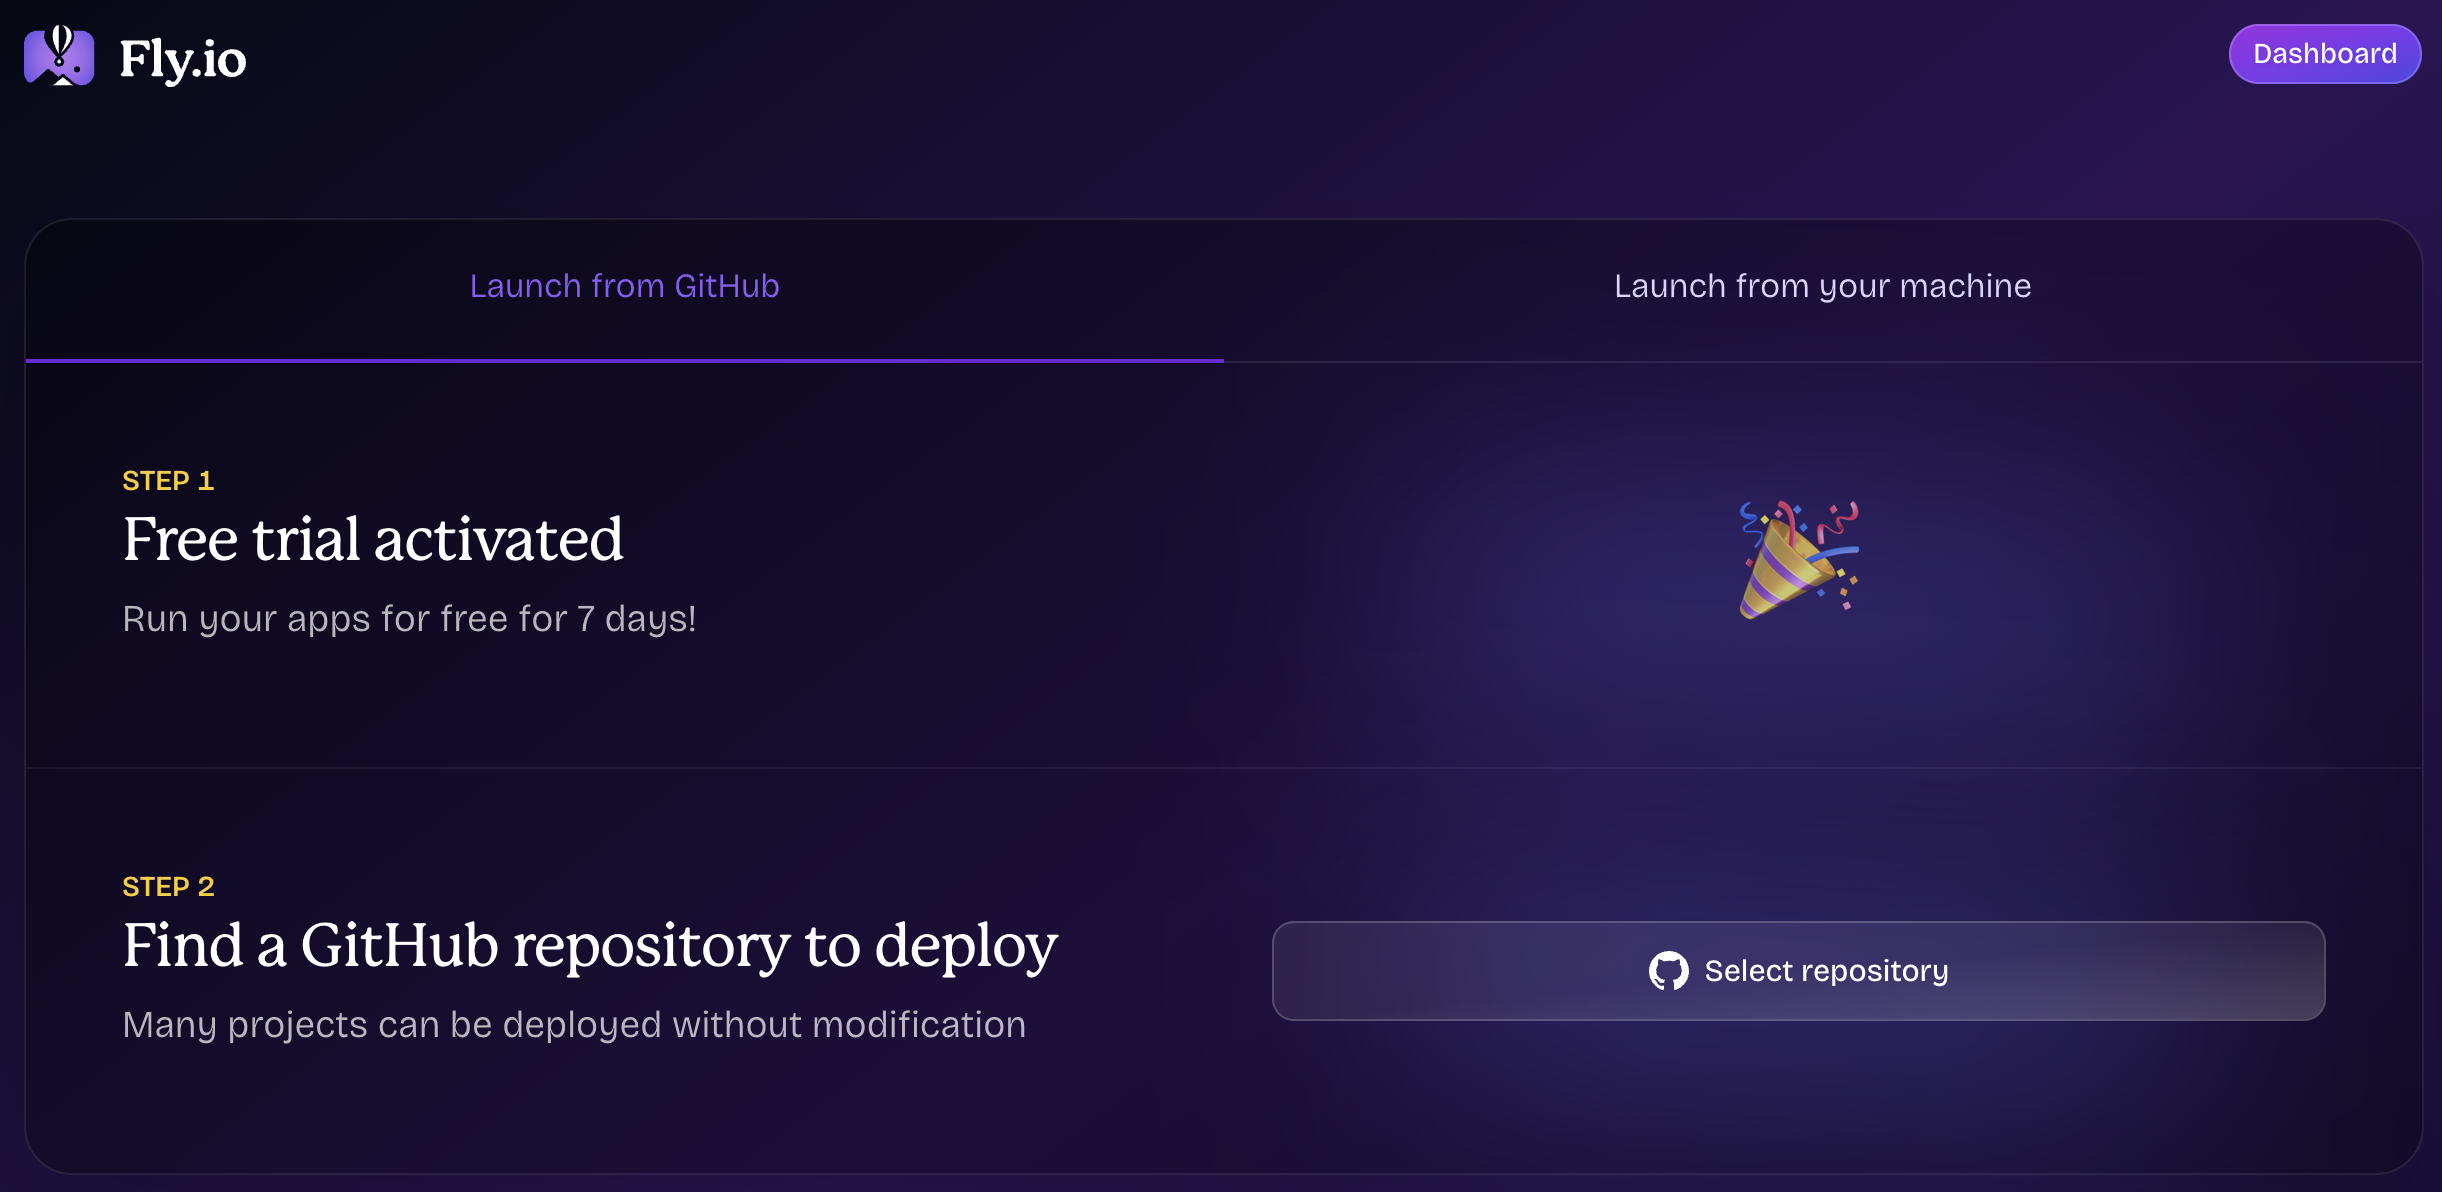

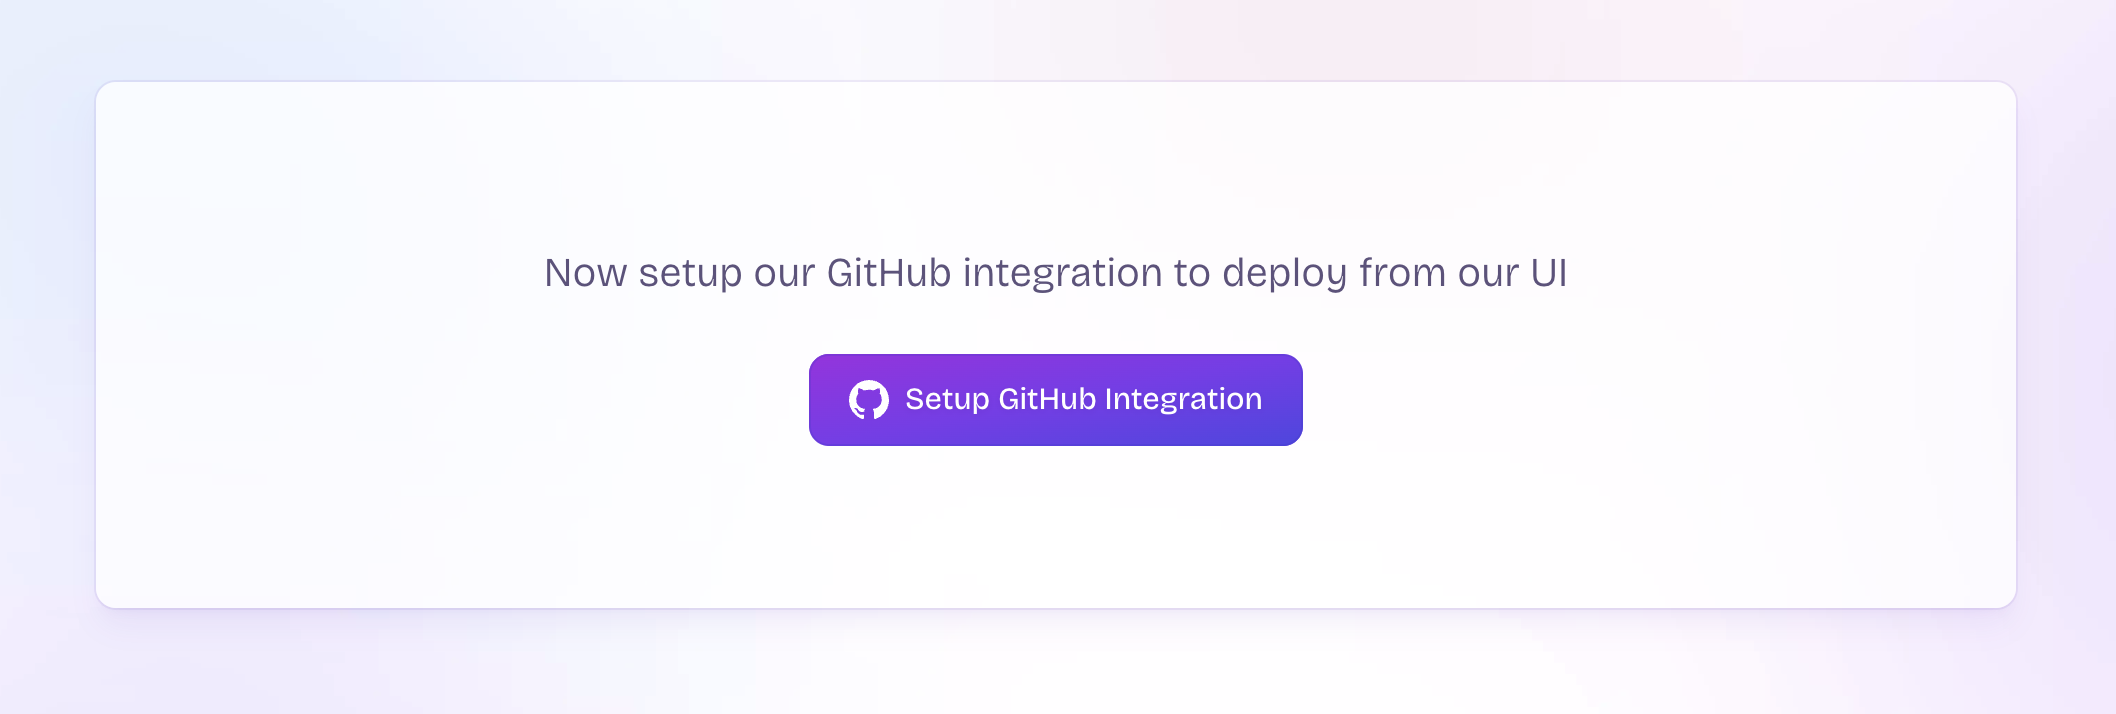
The Launch from GitHub tab is already selected, so go ahead and click on the Select repository button. To authorize Fly.io to access your GitHub account, click Setup GitHub Integration:

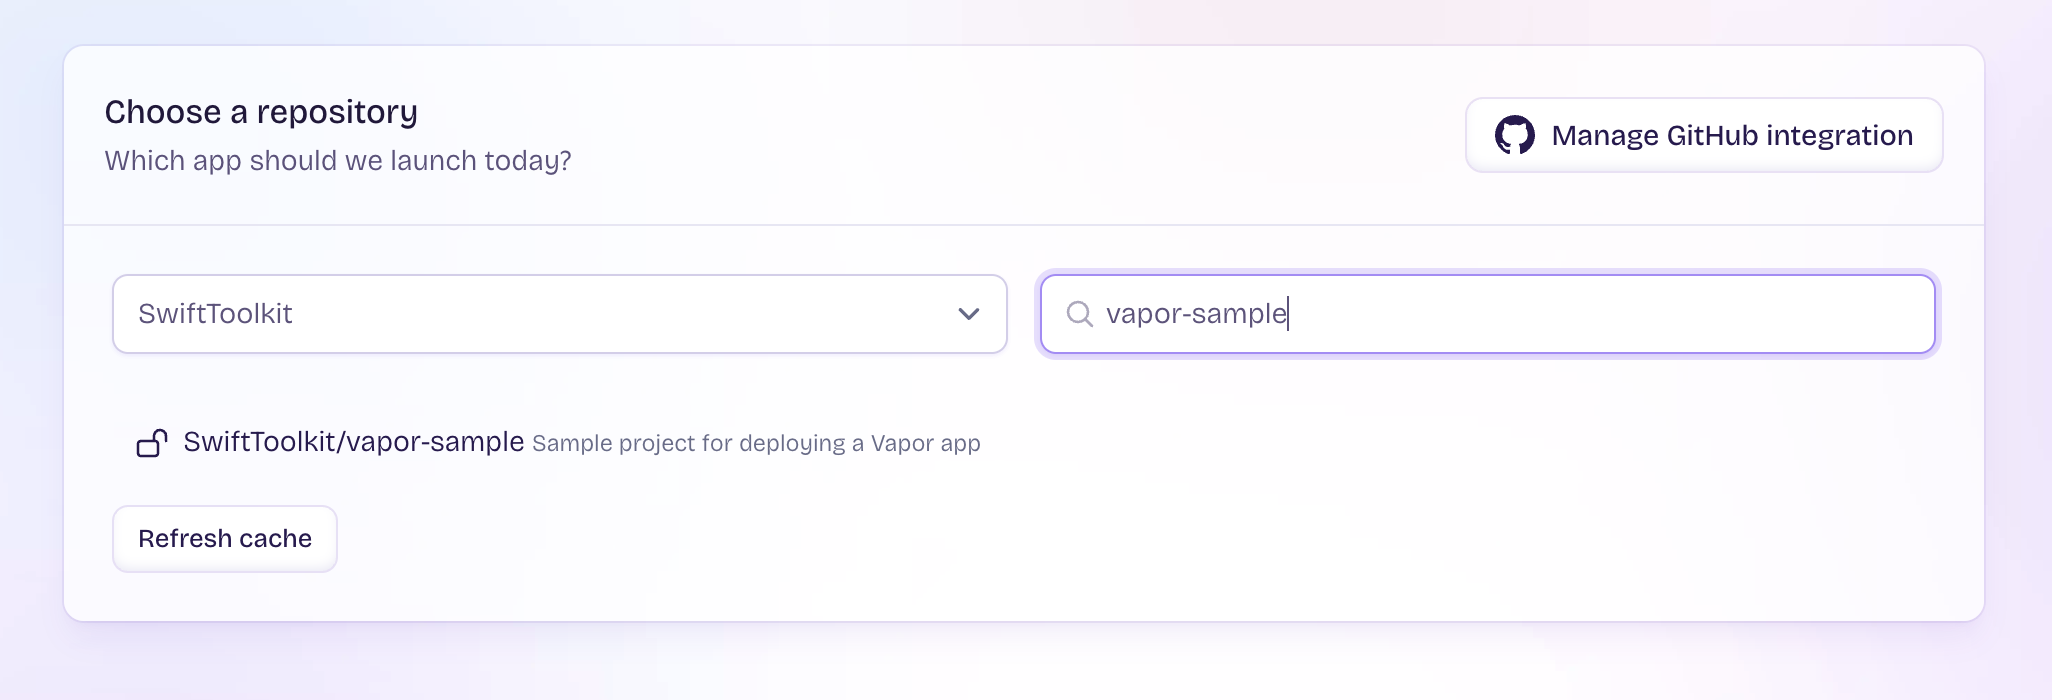
After allowing access, select the repository of your app (the one you just created above):

Now is the nice part: there’s no need to install Docker locally, or to build the image yourself. Fly will pull the code, setup a builder machine and build the image for you. The build step will take a few minutes.
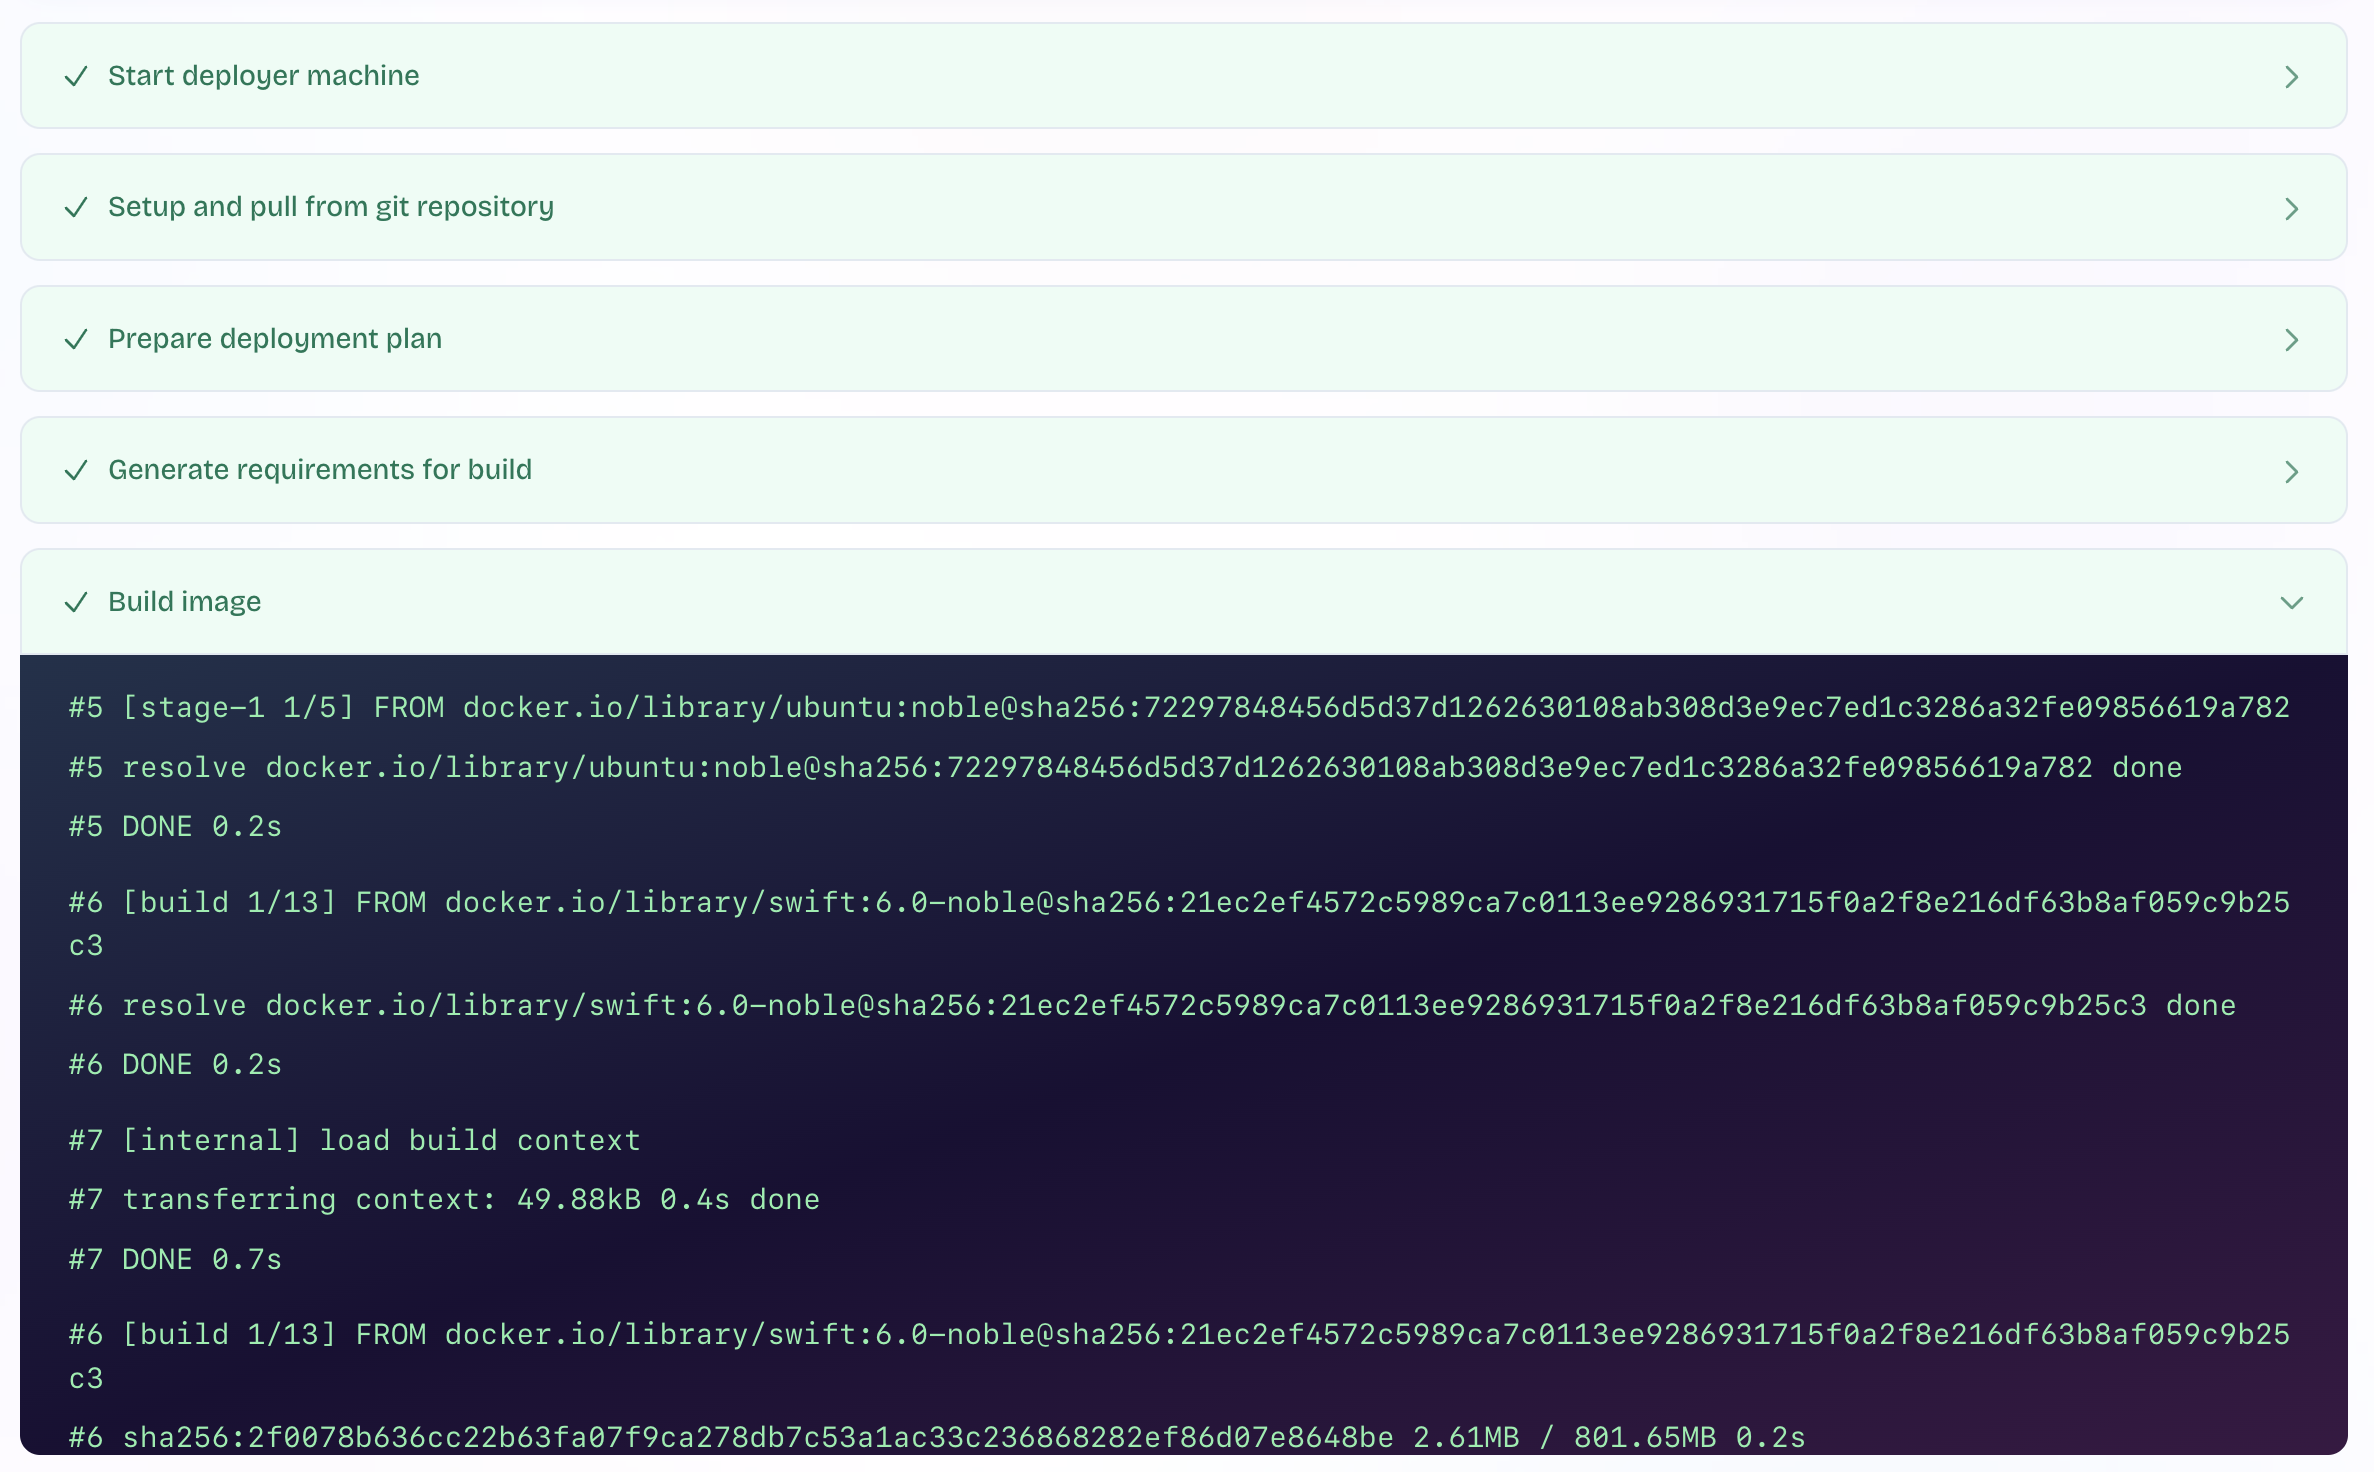
Once the build is finished, Fly.io will deploy the app to the subdomain it has created for it. Upon success, you’ll see two buttons:
- Create a Pull Request to your repository, adding Fly.io configuration files. It is recommended you include the suggested fly.toml file. You can see the PR it created for this sample project here.
- Open the app in the browser: you can get the URL after clicking this button, or by navigating to the Overview page of your app.
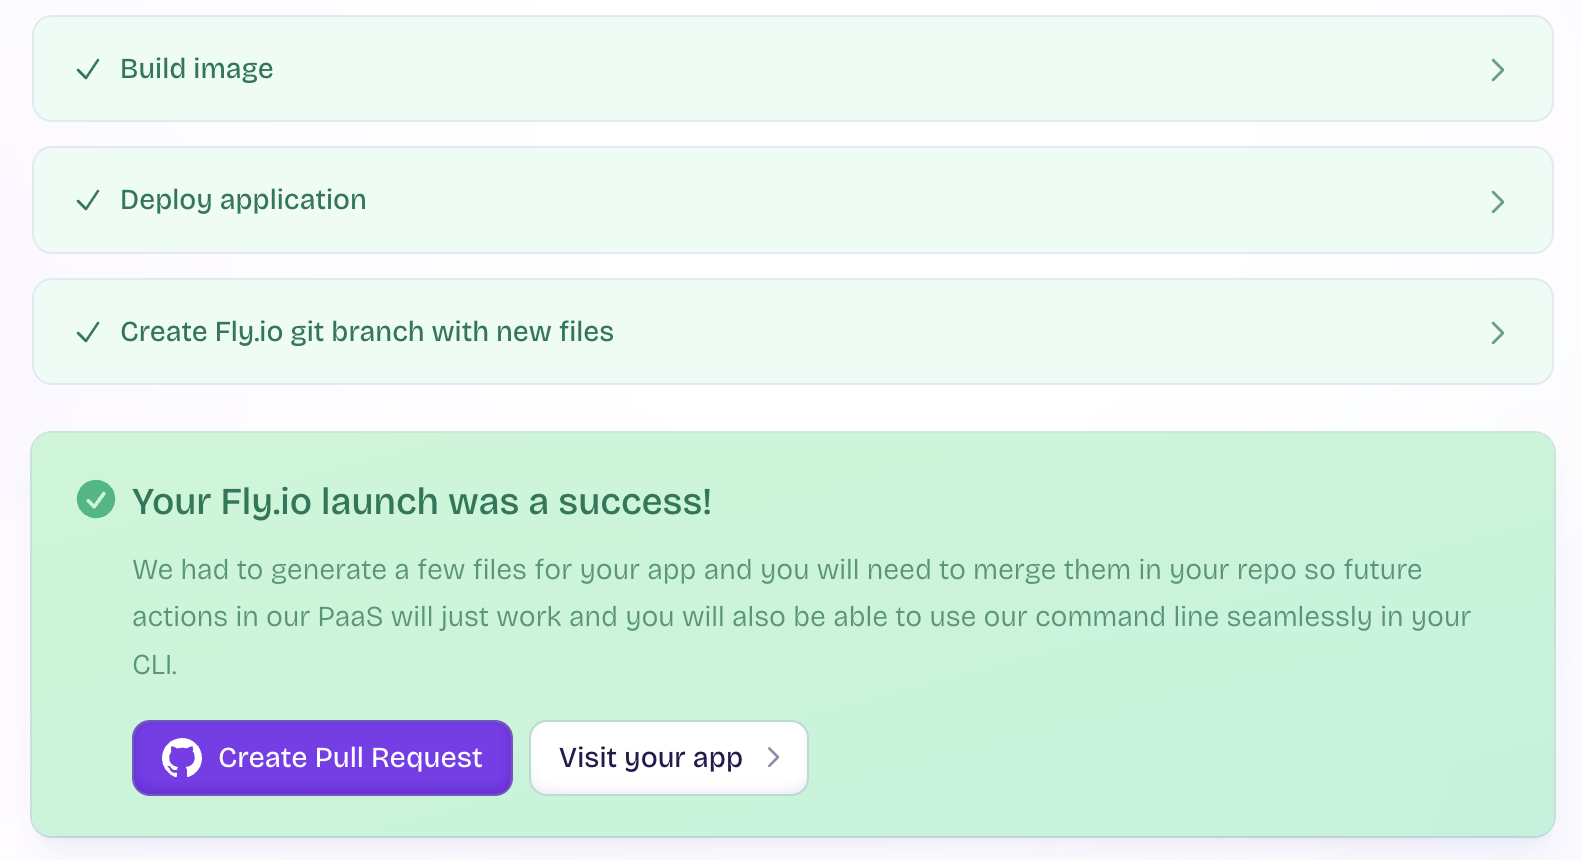
Clicking on the second will open the app in the browser:

We can check that the second route it working by issuing a request with curl from the Terminal. Replace the URL in the image with the one of your app, and run the command:
curl https://<your-app-name>.fly.dev/hello

From there and on, any new commits you push to the repository will trigger a new deployment.
Deploying to Railway
Another platform with a great developer experience is Railway. After signing up with GitHub, click New to create a new project, and choose the Deploy from GitHub repo option.
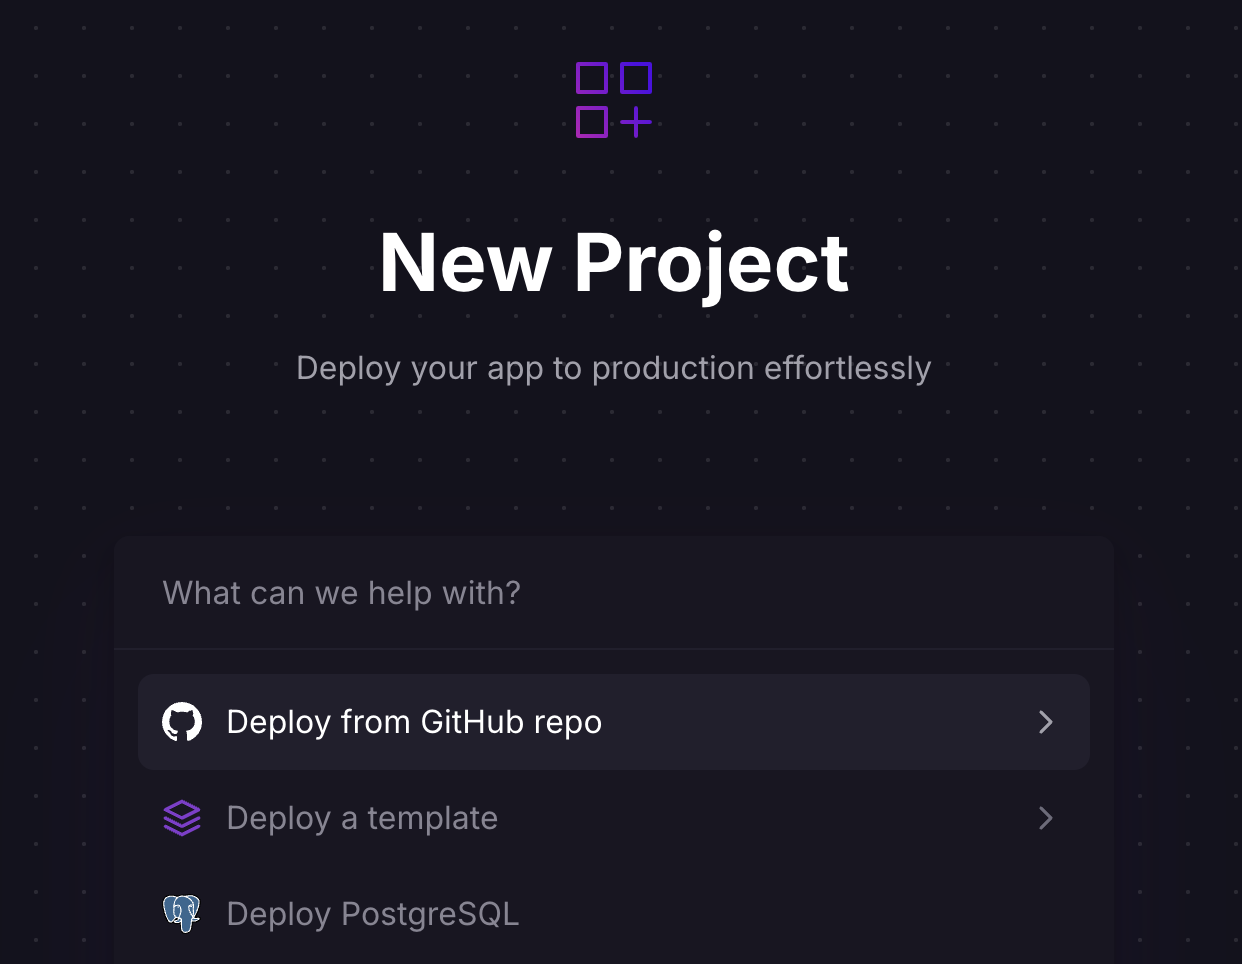

Select the repository you created above. If you don’t find it, you might have to click the Configure GitHub App button to authorize access to the account or organization where the repository belongs to.
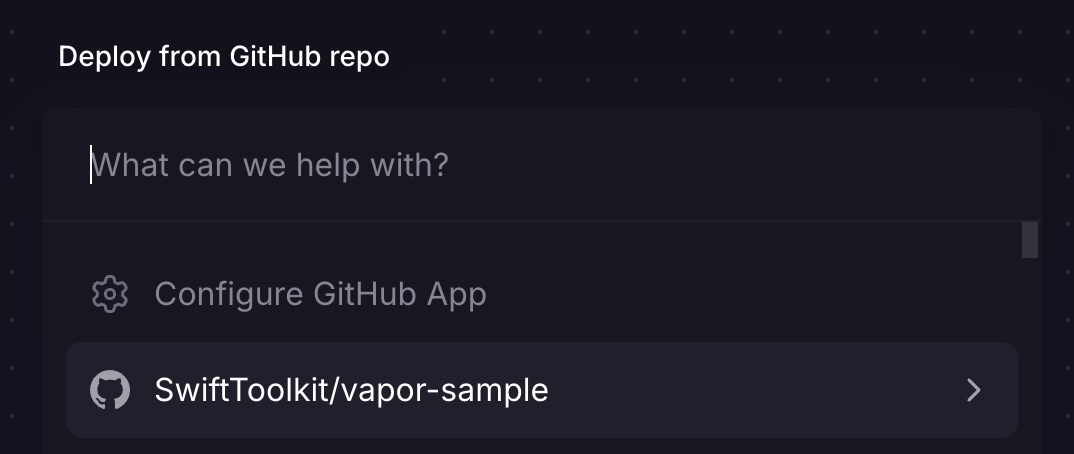

Railway will immediately create the new project, add the app as the project’s first service, and start building it. This is, similarly to Fly.io, the longest step of the whole process.
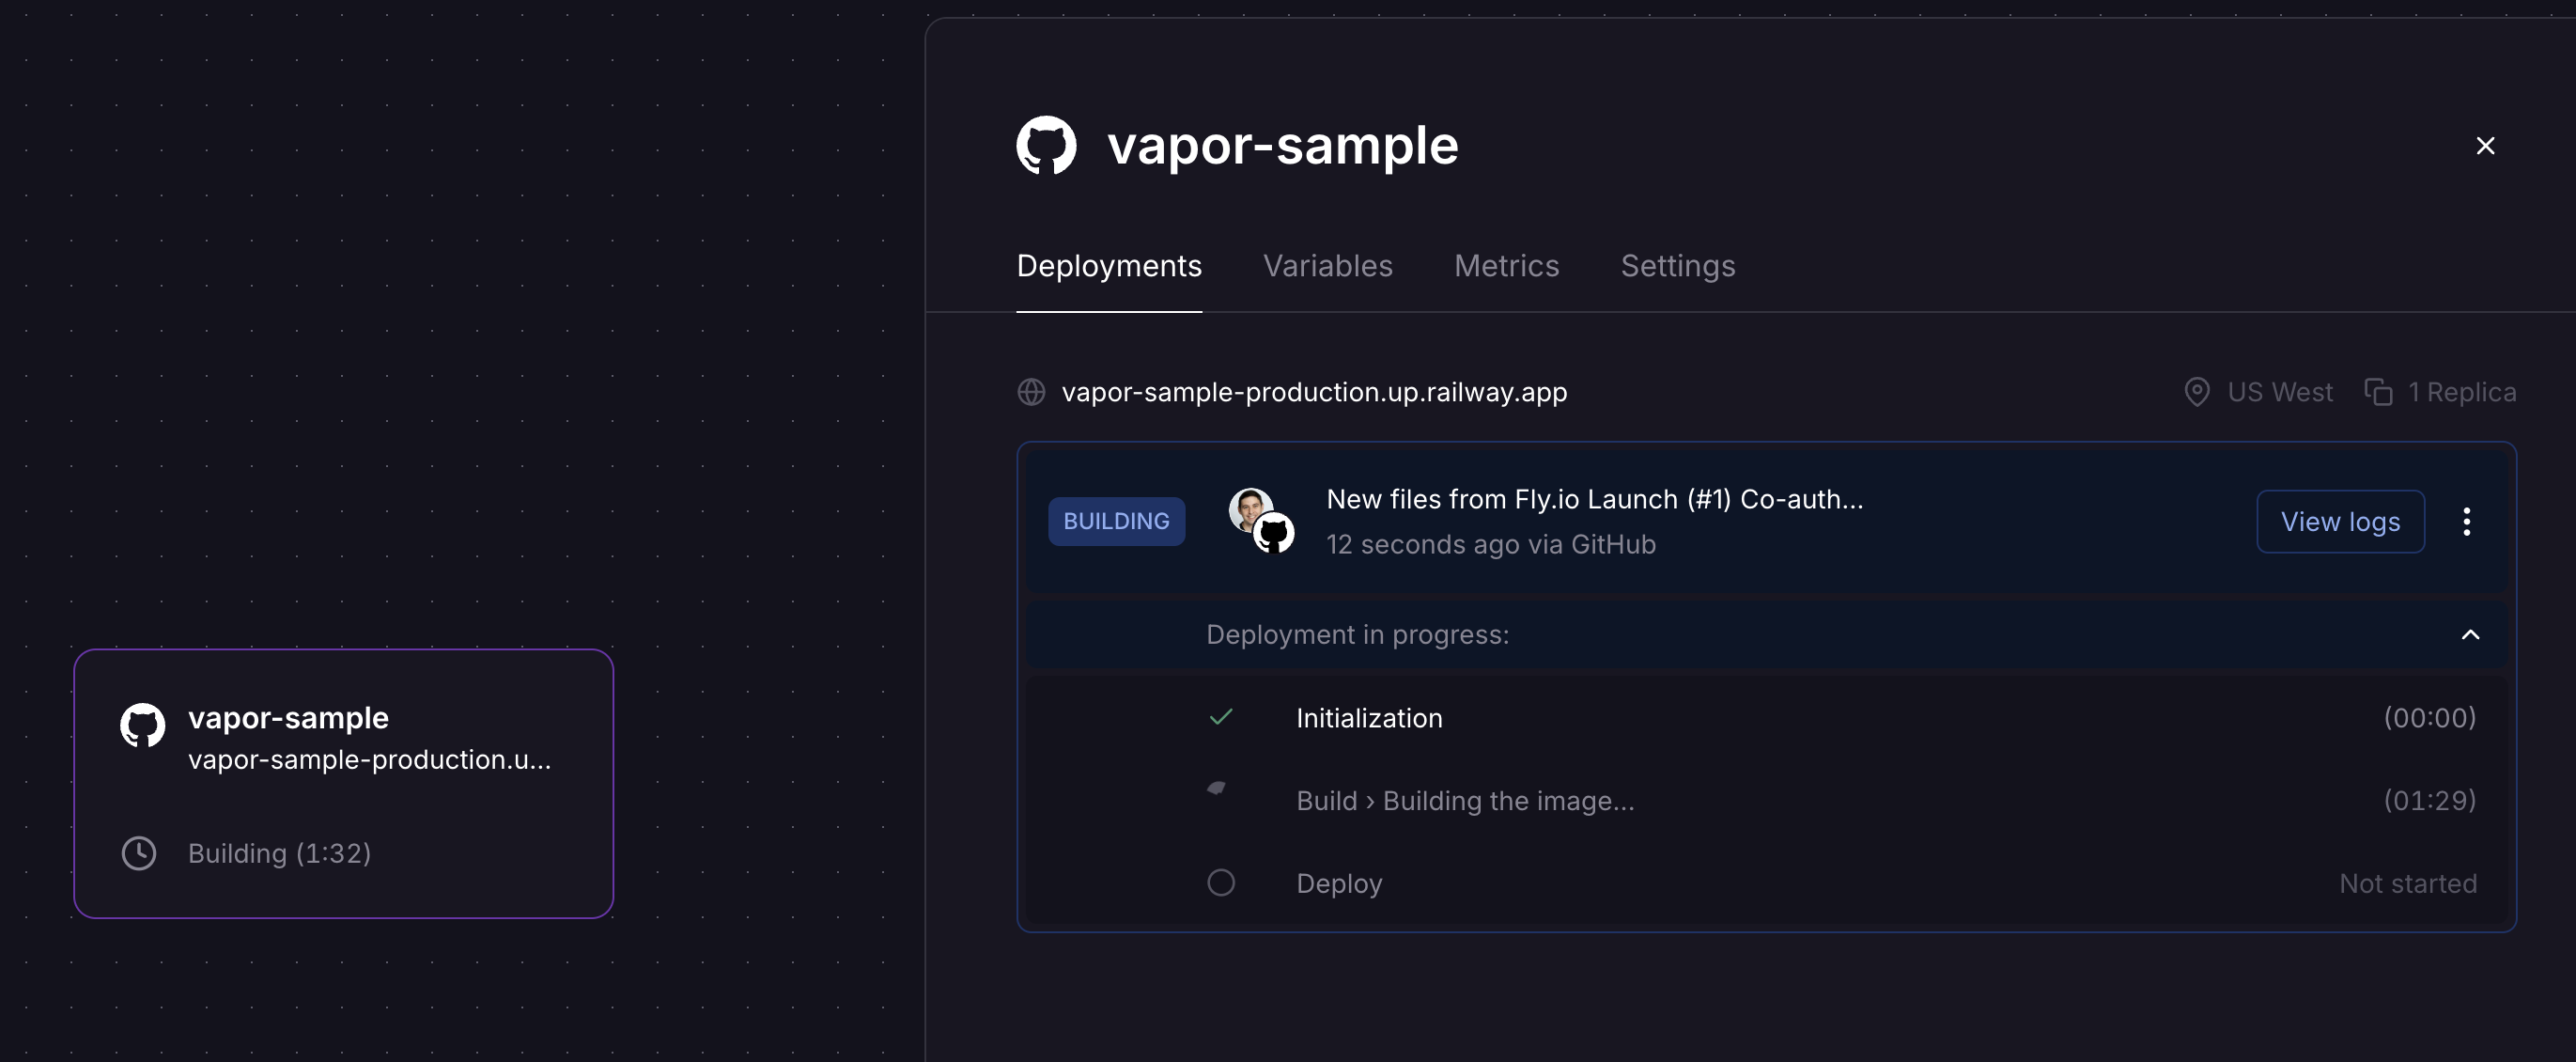

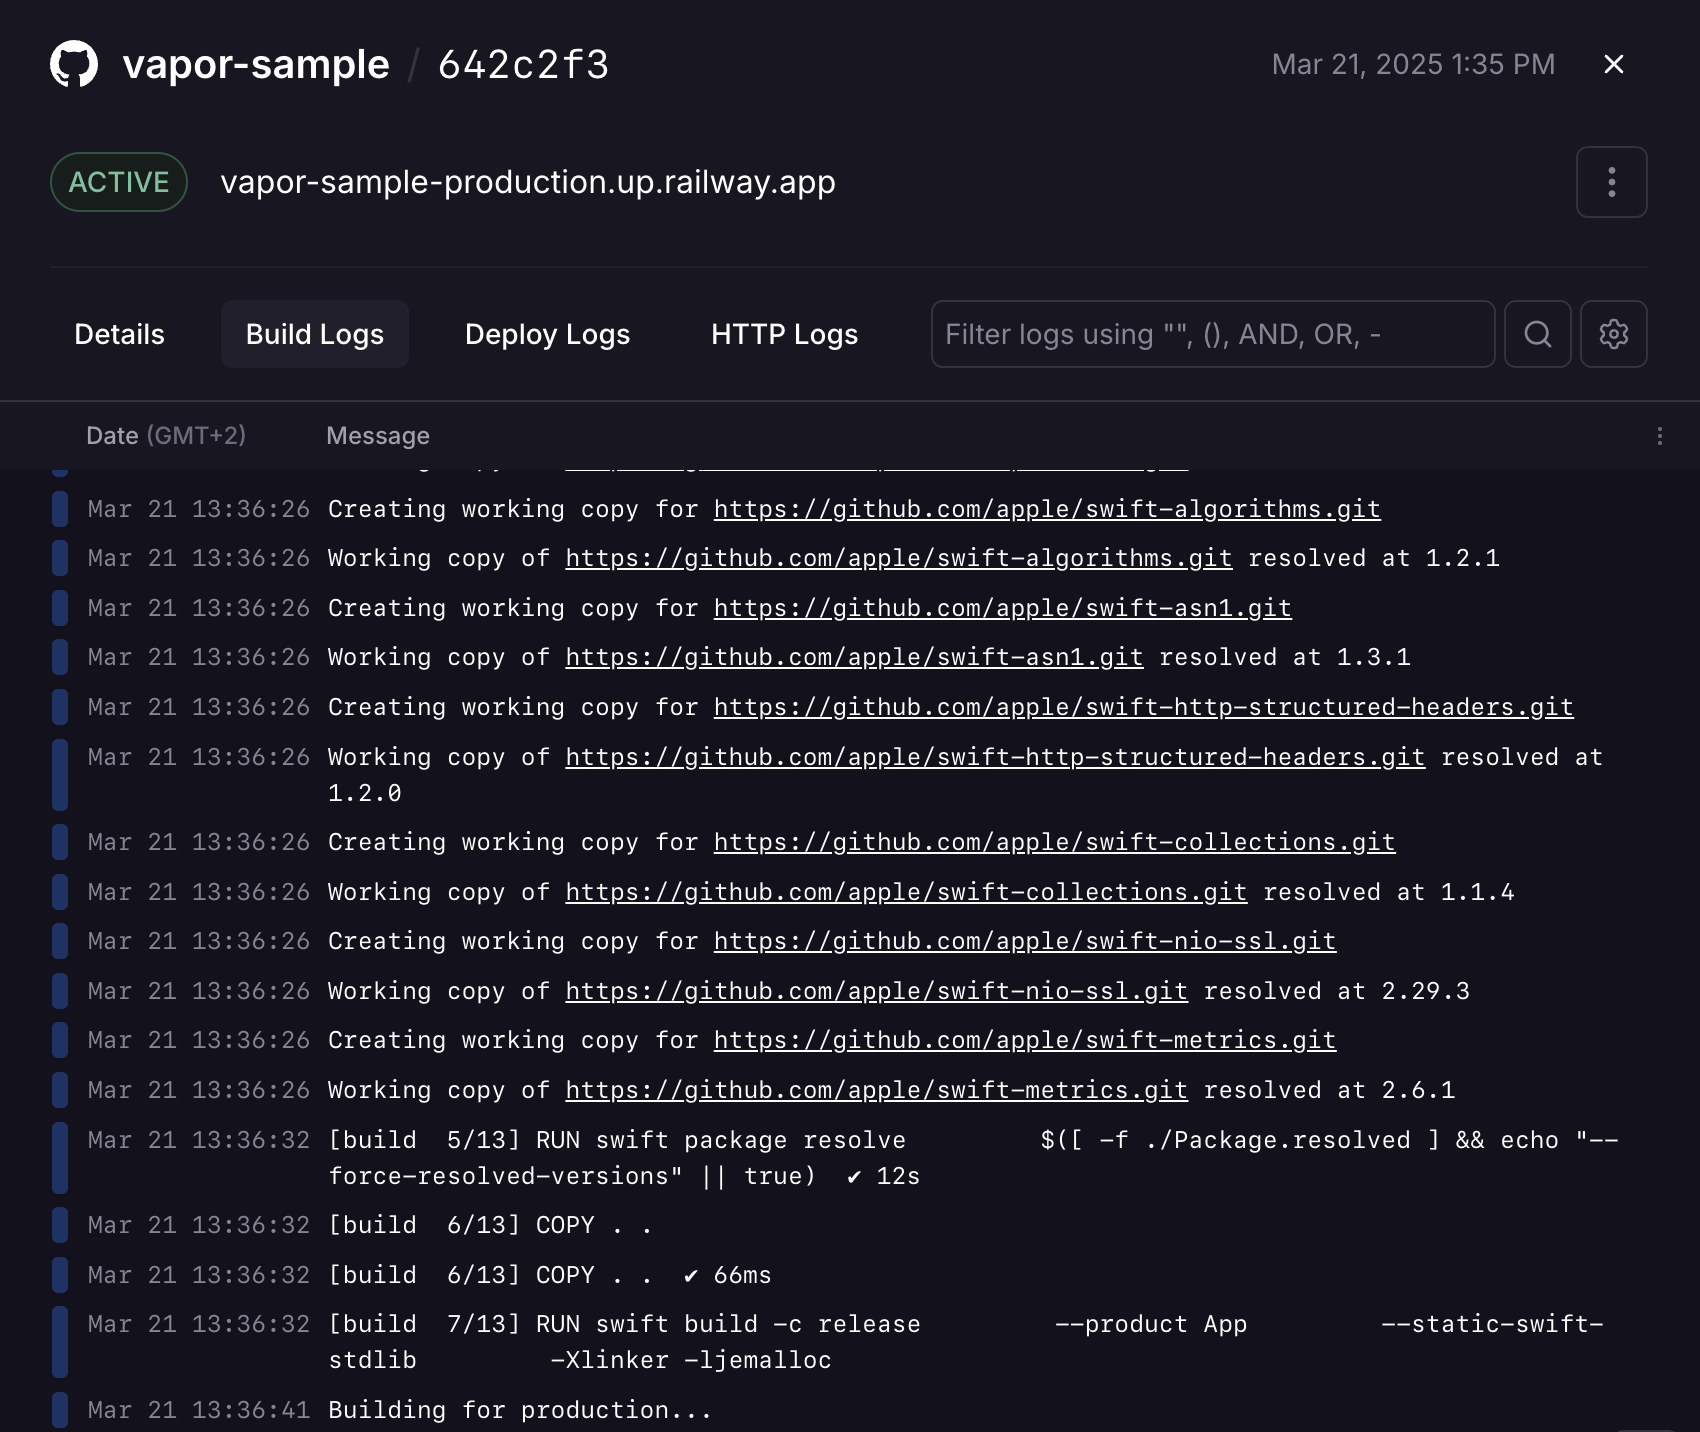
You can click the View Logs button to follow how the build is progressing:

Once the build is done and the app is live, you can click on the Settings tab of the project, and scroll to the Networking section. There, you’ll find the URL of the app:
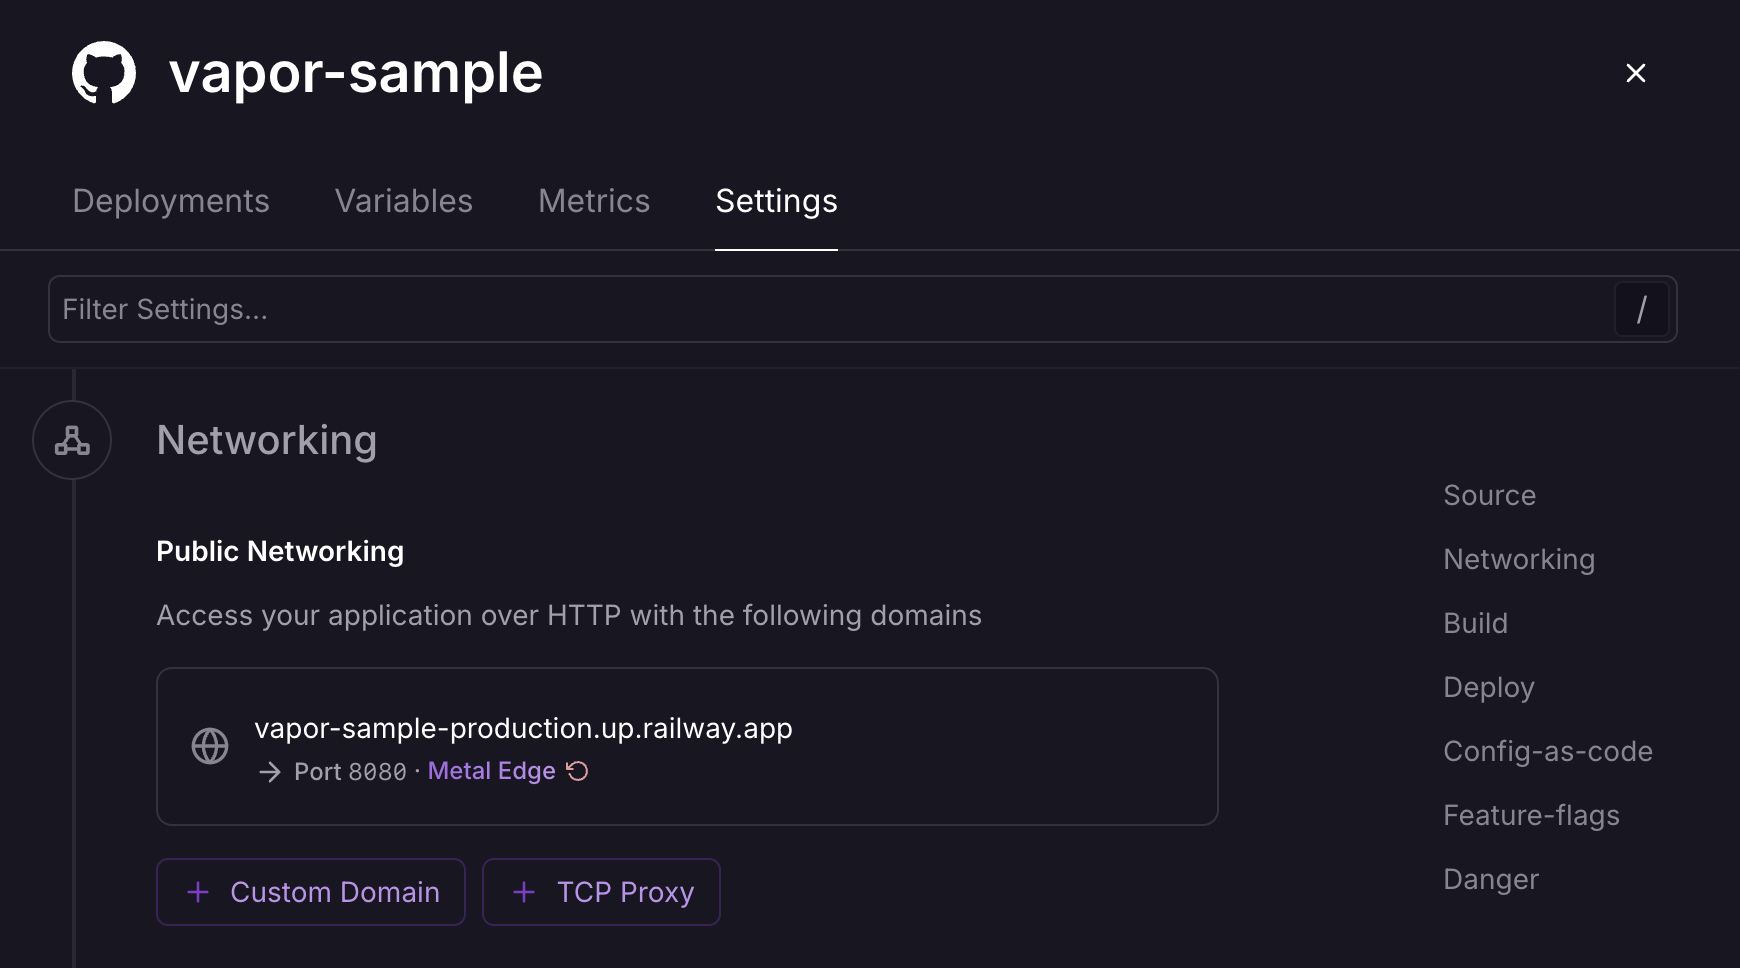

You can click the URL to open it in a new tab, and also use the URL to make a request from Terminal, as you did with Fly.io.
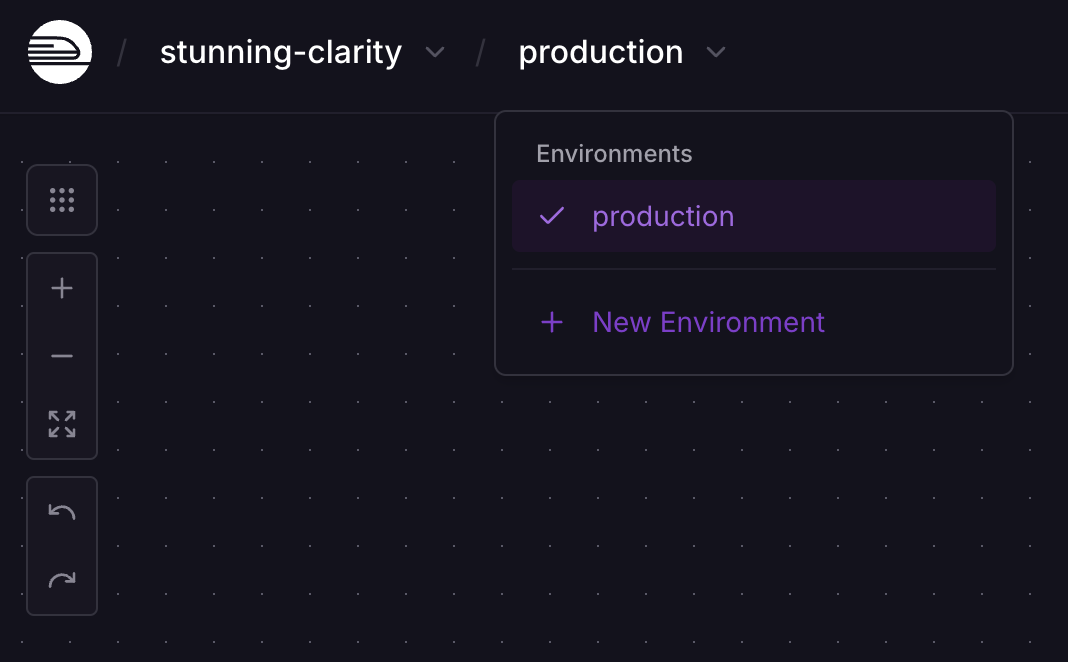
Another nice feature of Railway, is allowing to have different environments for the same project, such as Production and Staging. In the header of the project, click the production button (which is the default environment) to create a new one. Each environment will have different services, and a different URL where you can access the app service.

Explore Further
Swift on the server has come a long way! Nowadays it’s easier than ever to get your app running in the cloud.
It is important to understand the costs of running your app before choosing a platform to go with.
Here are some points you can consider looking into next:
- Custom Domains: instead of exposing your app through a subdomain, both platforms allow you to bring your own domain and connect it to your app, including support for HTTPS.
- More Services: You might want to add a database to your app. Both platforms offer a managed PostgreSQL service. Another service you might want to add is caching (such as Redis)
If you have any questions or suggestions, feel free to reach out on Mastodon or X.
See you at the next post. Have a good one!
