Sake 🍶: Swift-powered Command Management - Part I
If you’ve worked with developer tools, chances are high that you heard about the make utility. Given a makefile that contains a set of tasks, it allows you to execute them from the command line. You can perform any kind of actions in these tasks, such as building projects from a single entry point, but also other tasks, scripts, and other commands from the same makefile. Think of each one as a function that you can call from the command line.
Make uses the system’s shell to execute these commands. This is great for many cases, but sometimes you might want to rely on a more robust and structured language that you’re familiar with, or maybe want to reuse some code from your other projects. This is where Sake (pronounced just like the Japanese beverage: sah-keh), created and maintained by Vasiliy Kattouf, comes into play!
Sake has a few different features that this article will explore. But defining it shortly, it’s a CLI tool that allows you to write your tasks (and their dependencies) in Swift, leveraging the Swift compiler and the language ecosystem to run them.
Installing Sake
The easiest way to install Sake is by using Homebrew:
brew install kattouf/sake/sakeIf you prefer using Mise or Mint, you can also check out how to install using them instead.
Setting Up a SakeApp
Once you have Sake in your environment, for each project you want to use it, a SakeApp should exist in the project, ideally in its root. For example, if you have a Swift package, the structure should look like this:
./my-project
├── Package.swift
├── SakeApp
├── Sources
└── Tests
Before moving on to create the SakeApp, it’s important to differentiate between two terms:
- Sake is the CLI tool that you invoke from Terminal, and it will compile and execute your Sake commands (as part of SakeApp)
- SakeApp is an SPM project, which contains all the user defined commands
If you don’t have a SakeApp yet, which is probably the case if you’re just starting out, you can create one by running:
sake initThe init command will create a SakeApp in the current directory:

Open the SakeApp directory with your text editor of choice.
The SakeApp Structure
The first thing you might notice is that the SakeApp folder contains a Package.swift file. This is because Sake uses the Swift Package Manager to wrap and build the commands in a Swift executable. If you keep looking at that same directory, you’ll find another file that is the center of the SakeApp: Sakefile.swift.
This file contains the @main entry point: a struct named Commands, which conforms to the SakeApp protocol. More on that soon.
For now, look at the single command that it contains: a (1) public, (2) static property of the (3) Command type:
public static var hello: Command {
    Command(
        run: { _ in
            print("Hello, world!")
        }
    )
}
These three rules are very important:
- Public commands are visible from the command line, while non-public commands are private to the SakeApp, and still can be used internally.
- Commands must be declared static.
- The type must be
CommandorSake.Command(and not typealiases of it)
The run closure is defined as async throws, allowing you to perform any kind of asynchronous operation, including throwing errors. The only argument in this closure is Context: it contains information such as potential arguments, the app directory path, the running working directory, and also a storage that allows sharing information between commands.
If you want to see what commands are available, then sake list is your friend:
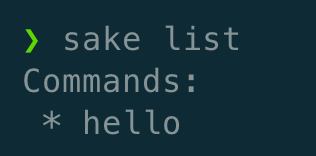

For now, there isn’t much to see here, only the default hello command. To run it, you can use the sake run hello, or just sake hello:
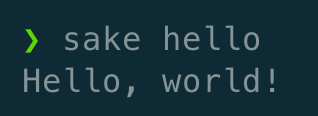

You see that it works, but how does the magic happen?
The Sake Macros
If you’ve opened the SakeApp in Xcode, you might have seen the following build warning and the errors:
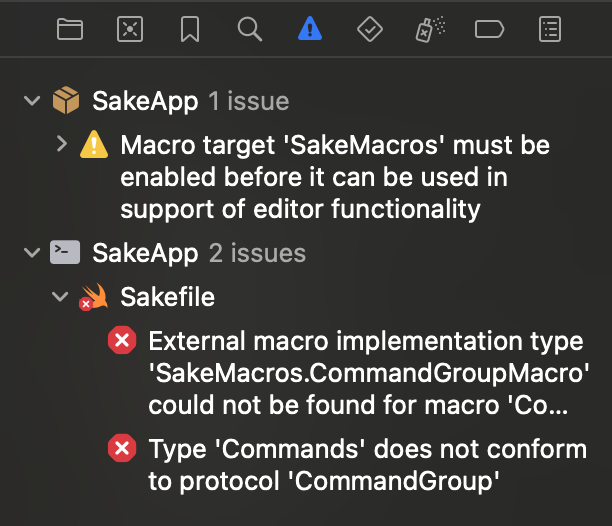

Click the warning, and then trust and enable the macros:
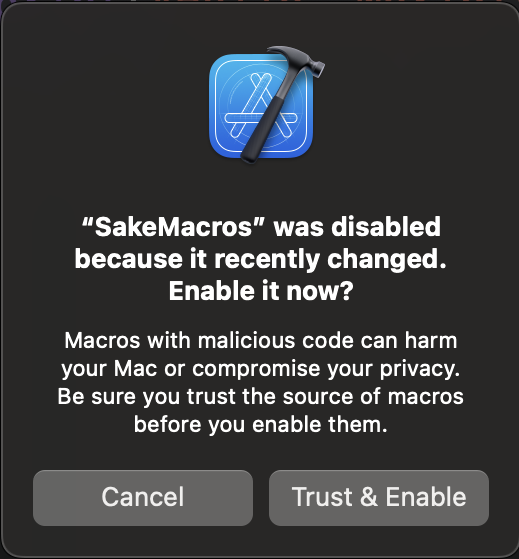

Now that you’ve enabled them, notice there is a @CommandGroup macro attached to the Commands struct. This macro does two important things:
- It allows you to group commands together, and scope them under a common category of commands.
- It creates a mapping between the command name and the command itself, used in runtime. This can be seen when expanding the macro:
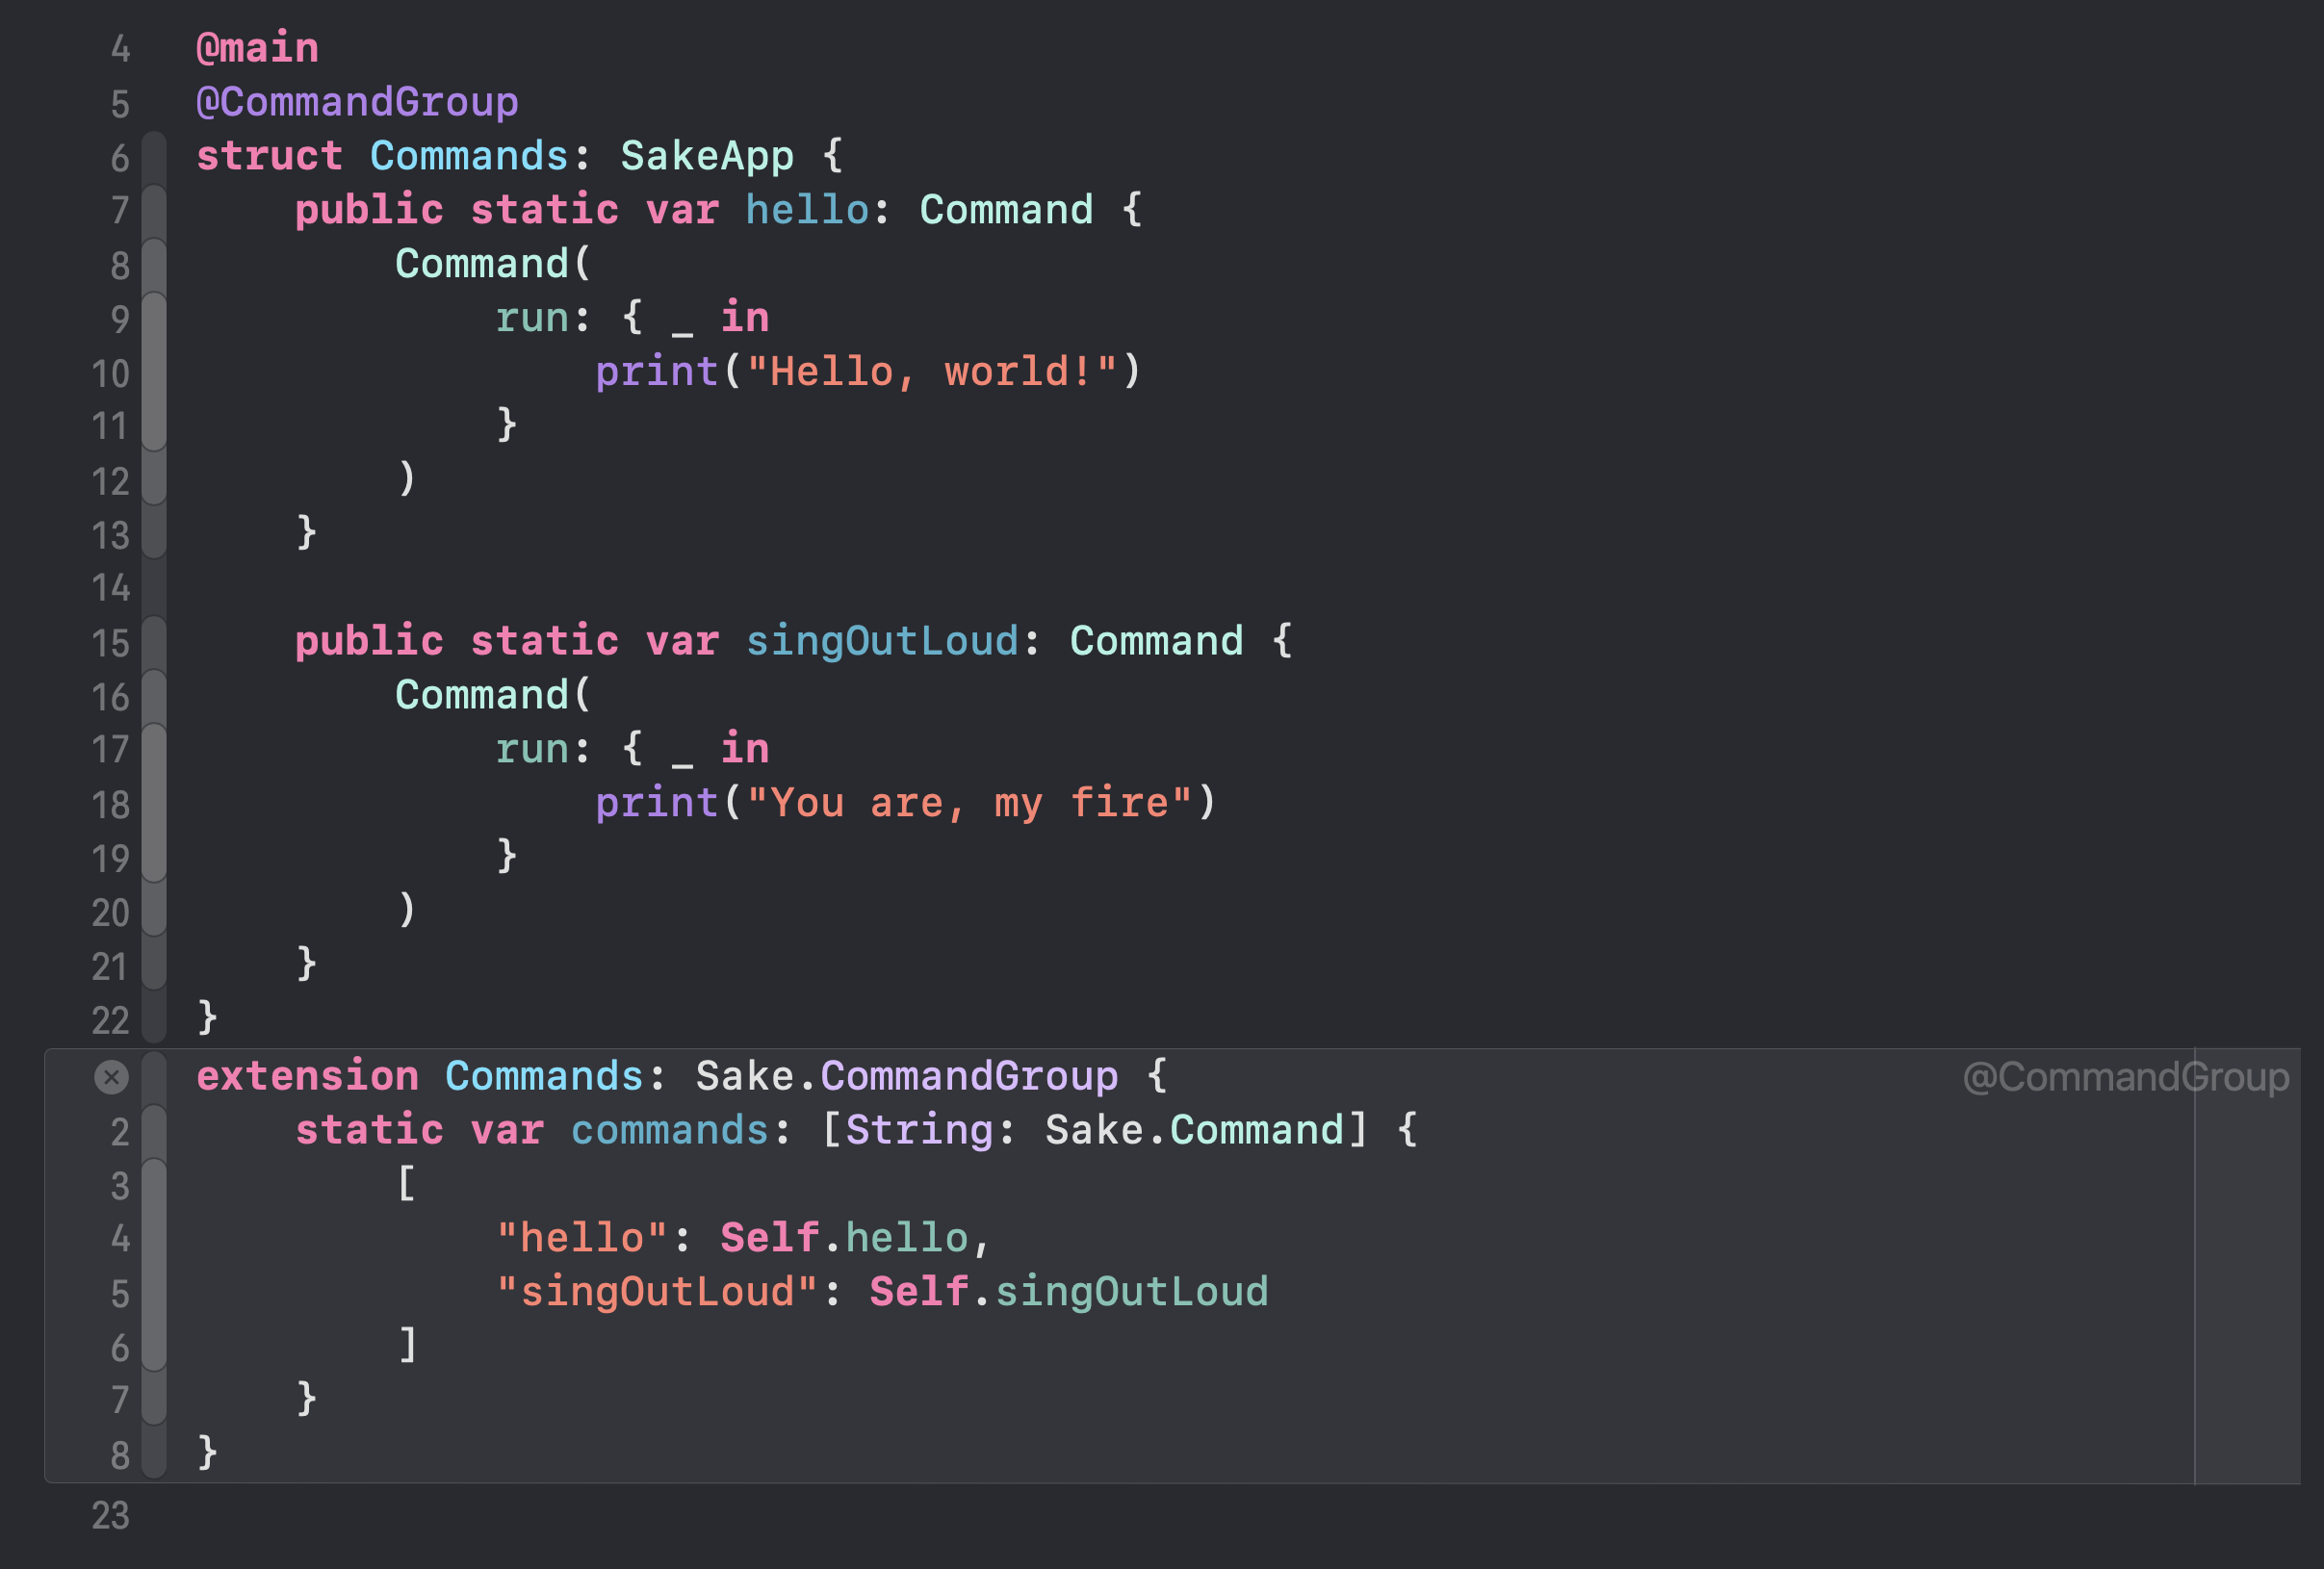
This property is also used in the list output. If you run sake list again, you’ll see the singOutLoud command was added to the list of commands.
A Practical Example
Don’t worry if you felt this article was too theoretical and abstract so far. Now you’ll learn how to use Sake to run two common tasks in your projects: linting and formatting.
Imagine you have a Swift implementation of the Cowsay program:
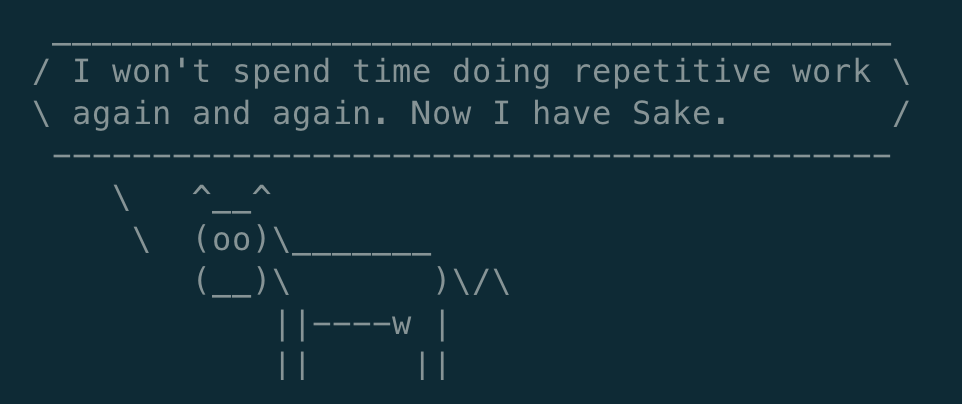

And it’s structured in the following way:
├── Package.swift
├── SakeApp
│   ├── Package.swift
│   └── Sakefile.swift
└── Sources
    ├── Cow.swift
    ├── Cowsay.swift
    └── Version.swift
To perform linting and formatting, this sample project will use SwiftFormat. Also, to help installing it, we will use Mise. If you don’t know what Mise is, think about it as Homebrew, but scoped to a project. It allows you to define tools in a configuration file, and pin their versions, guaranteeing the same version will be used across different developers’ machines, ensuring a stable environment for everyone.
There are 3 important pieces about the SwiftFormat setup that are not central to this article, but they’re important to mention:
- All the tools used are declared in the mise.toml file
- As SakeApp uses SPM, you can add any package to the app. In this example, SwiftShell is used to run
misein a subprocess. Declare the package dependencies in the SakeApp/Package.swift file and link them to the SakeApp target. - The installation of SwiftFormat is done in the MiseCommands file. You can notice a few things on this file:
- Although it’s also a command group, all commands aren’t marked as
public, which means they aren’t visible from the command line. - The
ensureSwiftFormatInstalledcommand uses askipIfclosure, that allows skipping the command if the SwiftFormat executable is already installed.
- Although it’s also a command group, all commands aren’t marked as
Writing the Format and Lint Commands
Considering the mise commands are already defined, writing the format command becomes easier to achieve:
// 1
public static var format: Command {
    Command(
        // 2
        description: "Format code",
        // 3
        dependencies: [MiseCommands.ensureSwiftFormatInstalled],
        run: { context in
            // 4
            try await runAndPrint(
                MiseCommands.miseBin(context),
                "exec",
                "--",
                "swiftformat",
                swiftformatArgs(for: context)
            )
        }
    )
}
Step by step we can break down the command:
- It is public, static, and of type
Command, just as the rules mentioned earlier. - The description is optional, but it’s a nice addition, as it will be displayed when listing the available commands.
- Dependencies run before the command itself. In this case, use the
ensureSwiftFormatInstalleddefined inMiseCommandsto certify SwiftFormat is installed. - Finally, run the command. Here, we ask mise to run SwiftFormat with the arguments defined in the
swiftformatArgs(for:)function.
And as we haven’t defined the swiftformatArgs(for:) function yet:
private static func swiftformatArgs(
    for context: Command.Context
) -> [String] {
    [
        "(context.projectRoot)/Sources",
        "(context.projectRoot)/SakeApp",
        "(context.projectRoot)/Tests",
        "(context.projectRoot)/Package.swift",
        "--swiftversion",
        "5.10",
    ]
}
These parameters will vary depending on your project, but the general idea is to format the code in the Sources, SakeApp, and Tests directories, and also the Package.swift file.
You can notice that all the paths use the context.projectRoot property. This is an extension on the Command.Context type, that can fit most of the cases, as SakeApp is usually one level deep from the project root:
extension Command.Context {
    var projectRoot: String {
        "(appDirectory)/.."
    }
}
Linting is very similar to formatting. The only difference is that we need to run SwiftFormat with the --lint flag:
public static var lint: Command {
    Command(
        // Modify the description, but keep the same dependencies
        run: { context in
            try await runAndPrint(
                MiseCommands.miseBin(context),
                "exec",
                "--",
                "swiftformat",
                swiftformatArgs(for: context),
                "--lint" // Add the `lint` flag
            )
        }
    )
}
And voilà, you can run sake format and sake lint now. These commands will (1) install mise if needed, (2) install SwiftFormat if needed, and (3) run the SwiftFormat for all the paths you defined in the swiftformatArgs(for:) function.
When adding lint violations to the Cowsay package, you can see the lint command in action, and Sake will let you know that the command failed with its error code:

Explore Further
Automating tasks is fantastic, and it’s even better doing it with a language that is ergonomic, backed by a compiler, supports structured concurrency, among other advantages Swift offers.
Special thanks to Vasiliy Kattouf for creating Sake and helping with the sample project, and reviewing this article.
In the second part of this series, we cover more advanced scenarios, such as automating GitHub releases, related to Pedro’s article about distributing Swift CLIs.
If you have any feedback for this post, or questions about Sake in general, feel free to ping Vasiliy Kattouf, or ping us on X @SwiftToolkit or Mastodon!
See you at the next post. Have a good one!

 You can see the full sample project here