Developing in Swift with VS Code Dev Containers
In the last episode of Dev Conversations, Adam Fowler and Joannis Orlandos emphasized how useful Dev Containers are when developing server apps in Swift with VS Code. In short, they allow to run and debug an executable in a Docker container, making sure that the results you get are the same when developing locally or deploying remotely.
While abstracting some concepts such as Dockerfiles and docker-compose, Dev Containers also allows advanced use cases by customizing those files and run apps using databases and other services - all that backed by docker containers.
This is the first post in a series of three, that will cover the usage of VS Code, Dev Containers and GitHub Codespaces, and how they can help your workflows when building and testing your tools and server apps.
Requirements: before starting this tutorial, ensure the following programs are installed on your machine:
- Docker: on macOS, you can either install Docker Desktop, or use a faster and lighter alternative: Orbstack.
- VS Code: download here
Although this tutorial is focused on macOS, it can work on any machine and OS with Docker and VS Code.
Running the Sample App
The sample app for this post uses one of the many Hummingbird examples available: it’s a Todo app, that demonstrates how to receive HTTP requests to create, read, update and modify todos, persisting them in a Postgres database.
You can download the sample project and follow the tutorial along by checking out the starter branch:
Setting Up the VS Code Swift Extension
After cloning the sample project, open it in VS Code. You can open the folder from the VS Code, or run the following in Terminal (given you’re in the root directory of the sample project):
code .If you already have the VS Code Swift Extension, you can skip to the next section. This is the official extension, developed by the Swift Server Work Group. If you don’t have it, open the extension page in VS Code, and there, install and enable the extension.
The .vscode/launch.json file
The first thing you might notice once the Swift extension is running, is a file that it will automatically create, in the .vscode directory: the launch.json file.
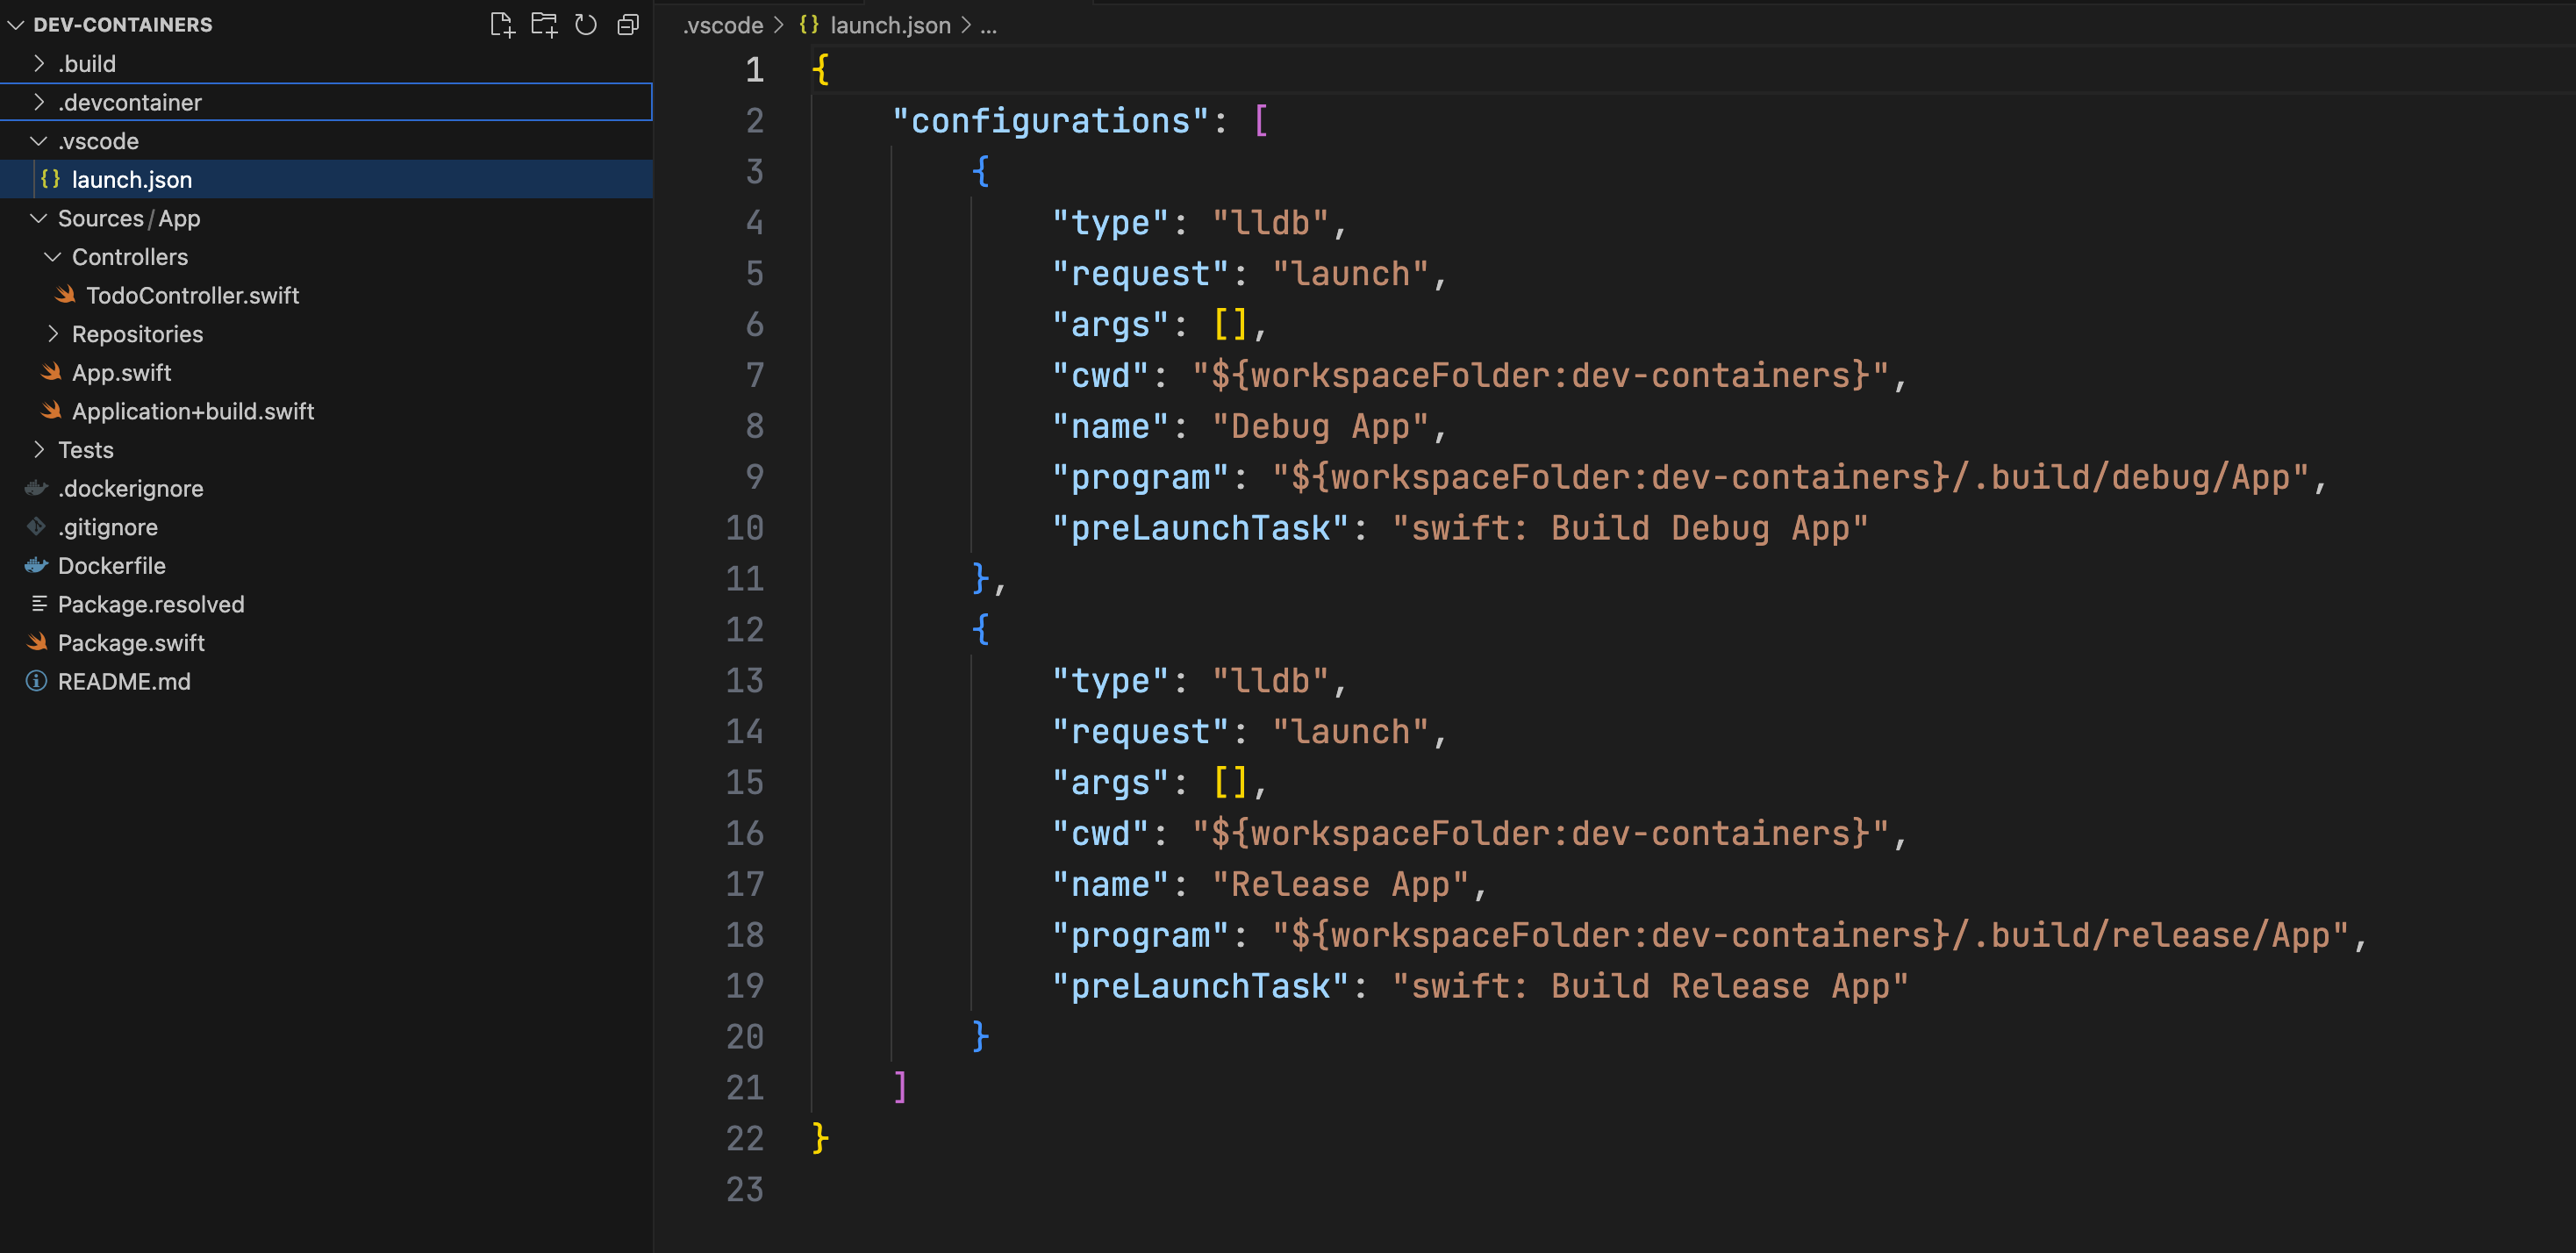
This file is where you declare the different configurations for running and debugging your executables. Notice how there are two configurations (debug and release), but both have App as the executable, and in the respective path.
Another interesting bit in this file is the args property. It allows specifying an array of arguments that your executable accepts. If you’re developing and testing a command line tool in Swift, this property is useful, and is the place to pass the arguments to the executable. If you’re familiar with Xcode, this is similar to editing a scheme’s arguments.
Changing Launch Arguments
The sample todos project relies on a Postgres database to persist them. Fortunately, it also contains a in-memory TodoRepository, to help one get up and running before configuring a Postgres connection. As setting up the database is not the focus of this post, use the TodoMemoryRepository instead.
If you open the Sources/App/App.swift file, you’ll notice the entry point of this server app is a type that conforms to the AsyncParsableCommand protocol from the Argument Parser. The last property before the run() method is a flag, that allows turning on the in-memory option:
@Flag
var inMemoryTesting: Bool = false
This is exactly what we need! To pass this flag when debugging the app, open the .vscode/launch.json file, and modify the args array in the Debug configuration (line 6 in the screenshot above):
"args": ["--in-memory-testing"],As this a flag, no value is required, and just the flag itself is enough.
Running on macOS
Now that the launch configuration is ready, you can run and debug the app. In the Debug sidebar (default shortcut is ⌘ + shift + D), click the run button, with the Debug App configuration selected.
While VS Code builds the app (using the Swift Package Manager behind the scenes), you can take a look at the Sources/App/Application+build.swift file. After the initialization of the logger, you will find the following code:
let operatingSystem: String
#if os(Linux)
operatingSystem = "Linux"
#else
operatingSystem = "macOS"
#endif

let osVersion = ProcessInfo.processInfo.operatingSystemVersionString
logger.info("Starting application - (operatingSystem) (osVersion)")
This block of code will log, upon initialization of the server app, two important bits: both the operating system, and the OS version.
After a few moments, the app should be compiled and running. Within the bottom Panel (default shortcut is ⌘ + J), open the Terminal tab, and select the Debug App process. There, you will find the output of the app:

Using a Dev Container
Up until now, you ran the app in macOS, as you could see by the output in the image above. Now is where the fun begins.
As stated in the introduction, Dev Containers allow you to run your apps inside a Docker container, reducing surprises when deploying your app to a remote Linux machine. For beginners (and also experienced programmers), a great advantage is that for simple scenarios, having a Dockerfile is not required at all.
First, you have to install the Dev Containers extension itself, maintained by Microsoft. Open in VS Code by clicking this link, install and enable it.
Then, to get started with a Dev Container, create a file at the .devcontainer/devcontainer.json path, and then copy the following contents:
{
    "name": "Swift 6.0",
    "image": "swift:6.0",
    "customizations": {
        "vscode": {
            "extensions": [
                "sswg.swift-lang"
            ],
            "settings": {
                "lldb.library": "/usr/lib/liblldb.so"
            }
        }
    },
    "forwardPorts": [8080]
}
This is the minimal configuration you need to run the app inside a dev container. Besides the name, the most important parts of this file are the Docker image to use (the official Swift 6.0 image in this case) and the port to forward to the host machine.
Opening the Workspace in a Dev Container
Initially, you opened the project (the workspace) in the regular way, not in a Dev Container. To start working with one, you have to explicitly reopen the workspace on it. VS Code might suggest you to do that:
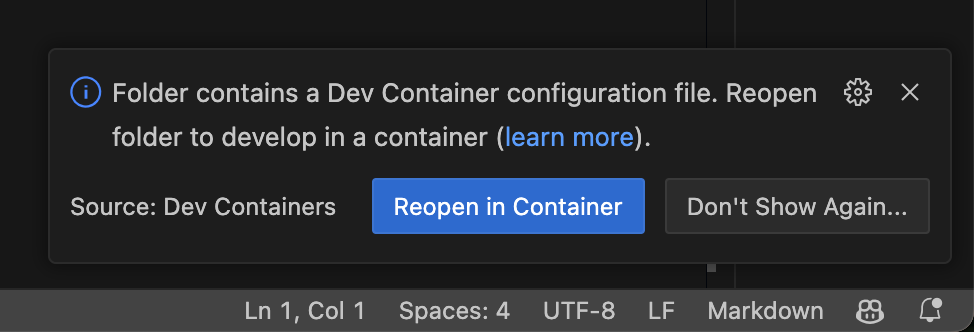

Click the Reopen in Container button. If you don’t see this dialog, you can use the Command Palette (⌘ + shift + P), and search for Dev Containers: Reopen in container:


It might take a few moments to download the Swift docker image in the first time. Once it has completed, to confirm that you have opened the workspace in the Dev Container, you can look at the bottom left corner of the window, where you’ll find this:


Running
To run the app inside the container, you do the same: open the Debug sidebar and click the run button, or just use the ⌘ + R shortcut. Building inside the dev container might take a bit in the first run.
Once the build is completed, VS Code will display this dialog, letting you know that the port 8080 is being forwarded from the container to the host machine:


Now, if you open the Terminal tab inside VS Code, you’ll find the same log message when running on macOS, but with a slight, but important change: notice how it says now Linux, instead of macOS!

Debugging with Breakpoints
Working with VS Code wouldn’t be useful if you couldn’t debug, right? Both breakpoints and the console just work in VS Code with Dev Containers.
To debug a request, for example, open the Sources/App/Controllers/TodoController.swift file, and add a breakpoint in the create(...) method, in its last line:
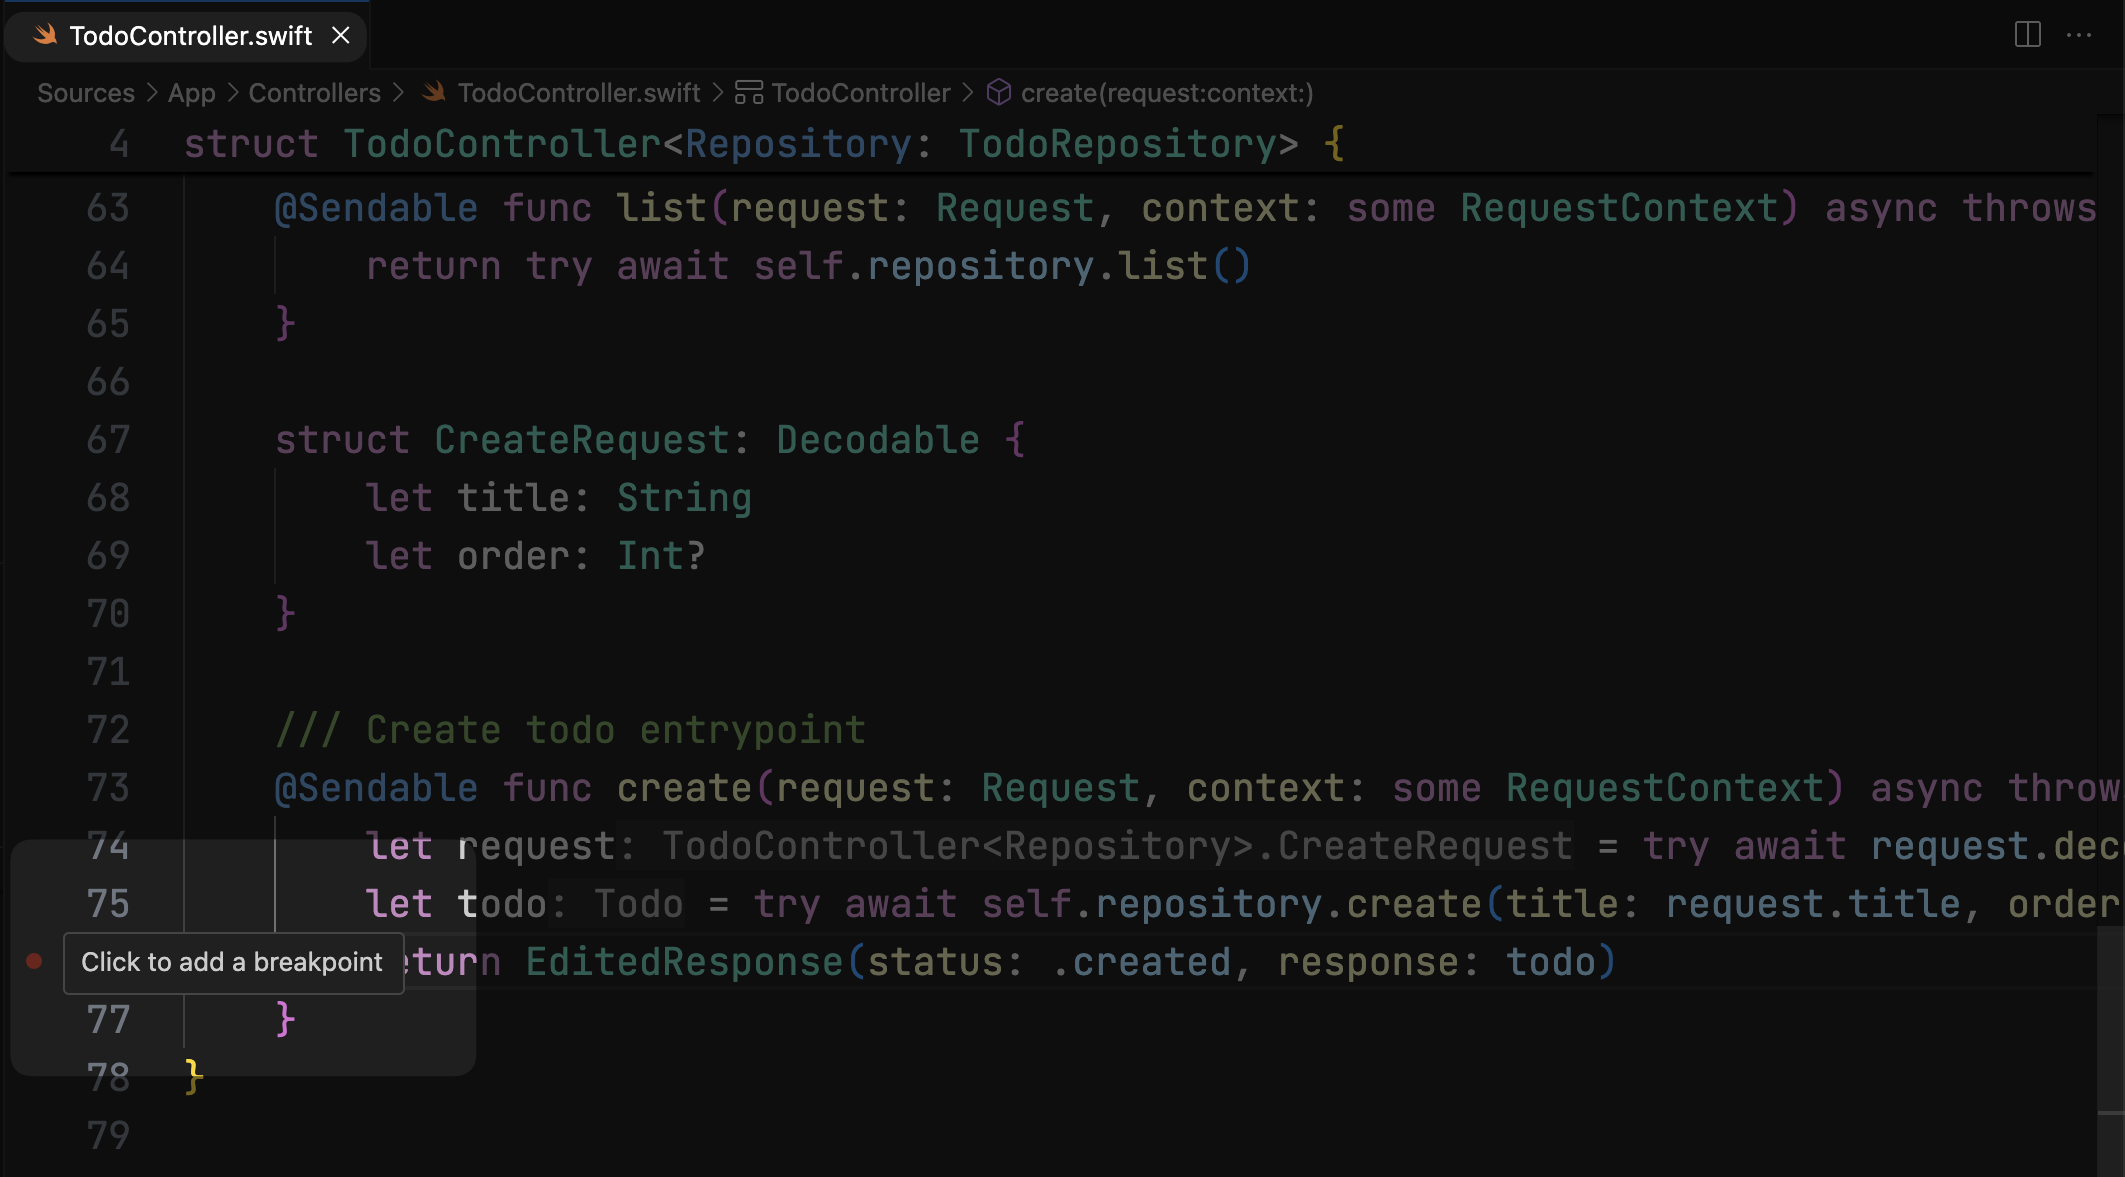
Then, move to the terminal, and run the following command to create a todo:
curl -X POST http://127.0.0.1:8080/todos -d '{"title": "Write about dev containers"}'This executes a POST request, and if the app is running, it should hit the breakpoint you just added. Notice how you can interact with LLDB and print variables, just like you do on Xcode:
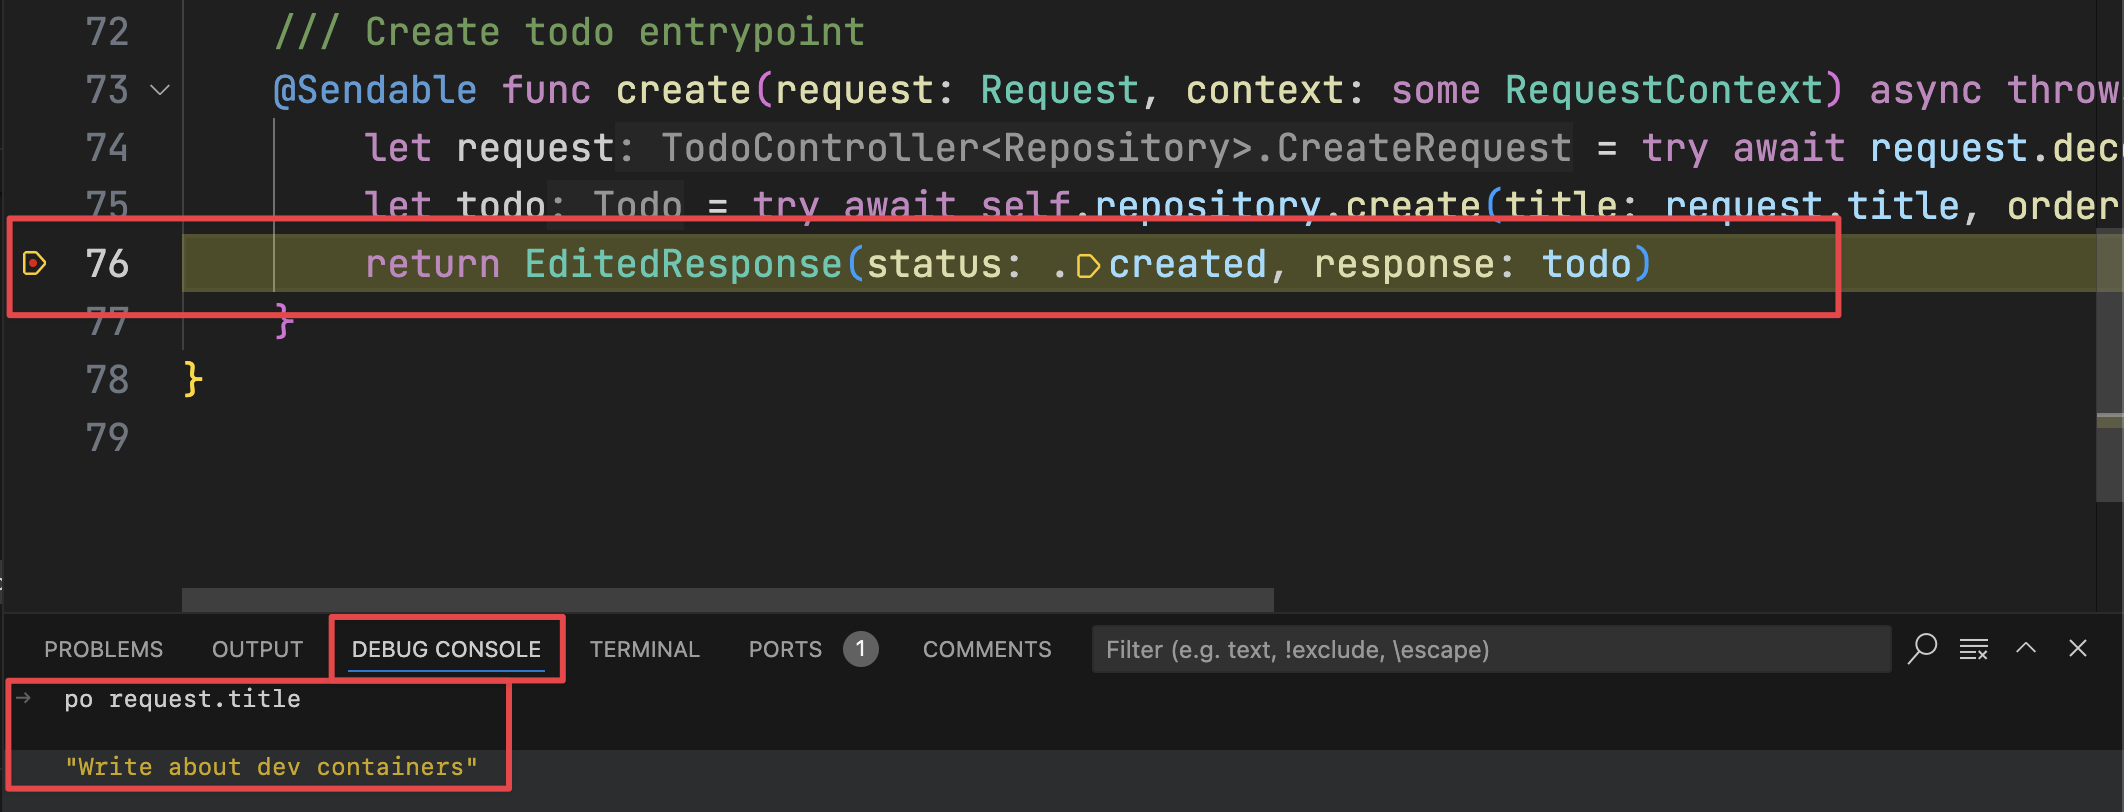

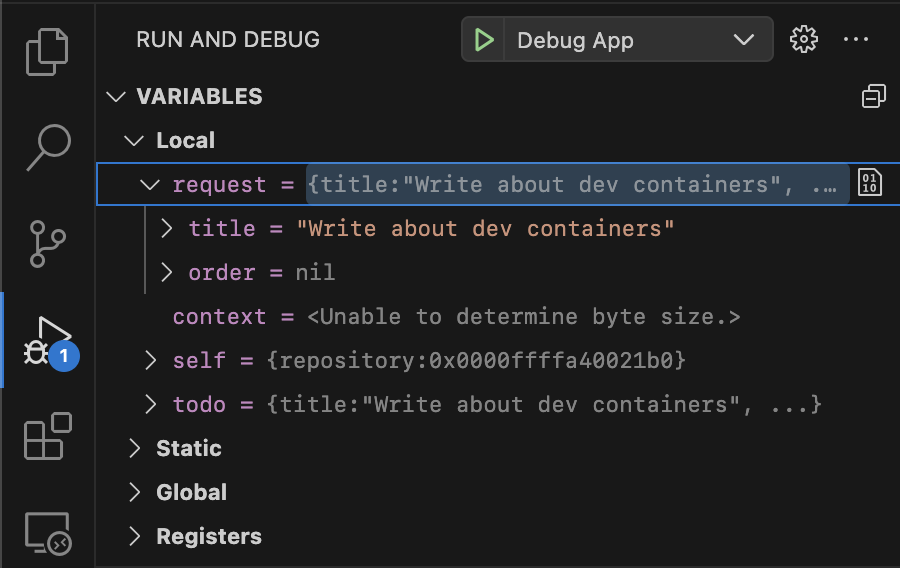
Additionally, in the Debug sidebar you can find all the variables in the current scope, be them local, static, or global:

After continuing the execution, you can issue another request and see how the todo creation worked:

Explore Further
Great tools allow us to improve our day to day, and so does VS Code and its extensions. We hope learning with this tutorial added more skills to your tool belt.
To learn how to work with a Postgres database from a dev container, you can read the second post of this series. In the third and final post, we talk about running the app in GitHub Codespaces!
Don’t miss the final sample project of this tutorial.
In case you have any suggestions, comments or questions, reach us at X or Mastodon.
Thanks to Adam and Joannis for their help and their extensive work on the Hummingbird code samples, and all the Server Work Group on developing the Swift extension - the repository also contains a useful explanation of Dev Containers.
See you at the next post. Have a good one!

 Download the starter sample project